If you’ve ever wondered how a simple butter cake gets its impossibly light, tender crumb, the secret is almost always the creaming method. This is one of those foundational techniques that, once you master it, completely changes your baking game. It’s the difference between a dense, heavy cake and one that’s airy and delicate.
The Foundation of Fluffy Cakes and Cookies
At its heart, the creaming method is about forcing air into fat. Sounds simple, right? But it’s this step that builds the entire structure of your bake.
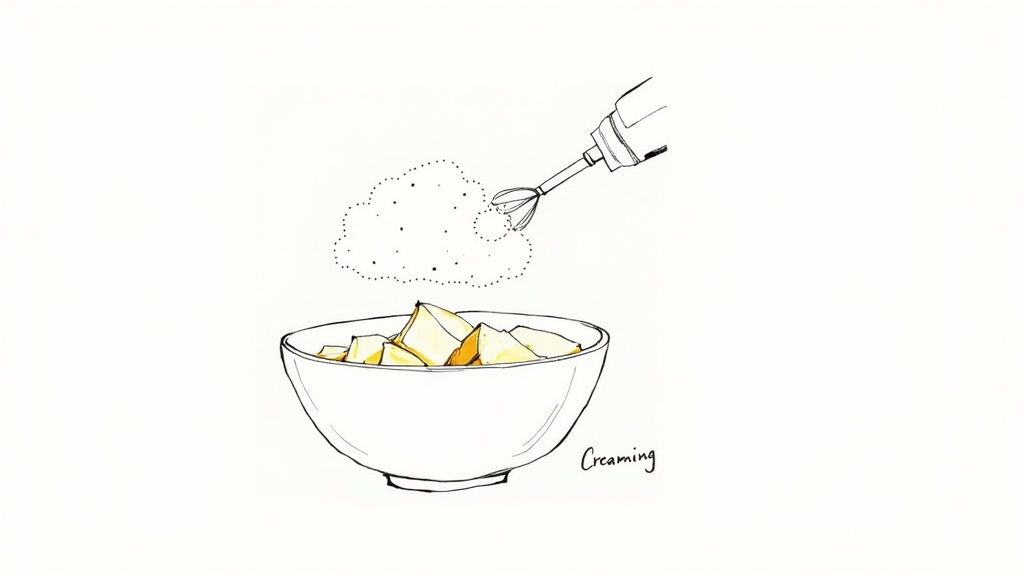
Think of it like this: when you beat softened butter and granulated sugar together, you’re not just mixing them. The sharp, abrasive edges of the sugar crystals are literally carving out thousands of tiny air pockets in the fat. The longer you beat them, the more stable and numerous those pockets become.
This network of air is what gives your batter its built-in lift. Later, when your cake or cookies hit the oven's heat, those tiny air bubbles expand, pushing the batter upwards. This process, known as mechanical leavening, works right alongside chemical leaveners like baking powder to create that beautiful, even rise.
Why This Method Matters
Getting this technique right is what separates good home bakers from great ones. It’s the magic behind those bakery-style cookies that are perfectly crisp on the edges but chewy in the middle, and it's the architectural blueprint for a perfectly structured layer cake.
The creaming method has been a cornerstone of baking since it became popular in the 19th century, and for good reason. It relies on a few key players working together in perfect harmony.
To help you visualize how these elements work together, here's a quick breakdown of their roles.
The Three Pillars Of the Creaming Method
Component
Primary Role
Desired Outcome
Solid Fat
Provides the base structure
Creates a stable foundation to trap and hold air
Granulated Sugar
Acts as the primary aerator
Cuts into the fat to form thousands of microscopic air pockets
Time & Temperature
Controls the process
Ensures fat is soft enough to aerate but not melting; allows enough time for air incorporation
Understanding these fundamentals gives you incredible control over the final texture of your baked goods.
Grasping these core concepts is the first step toward becoming a more intuitive baker. To build on that foundation, our guide on how to read a recipe will help you understand and execute instructions like a pro, ensuring consistent results every time.
The Science Behind a Fluffy Crumb
The creaming method is so much more than just mixing butter and sugar together. It’s actually a brilliant bit of kitchen science, and it’s what sets the stage for a truly fantastic bake. Think of it as building a microscopic scaffold inside your batter, one that gives it structure and lift.
The whole process relies on a simple idea: mechanical leavening. You're not just combining ingredients; you're physically forcing air into the mixture. This is where the magic really starts.
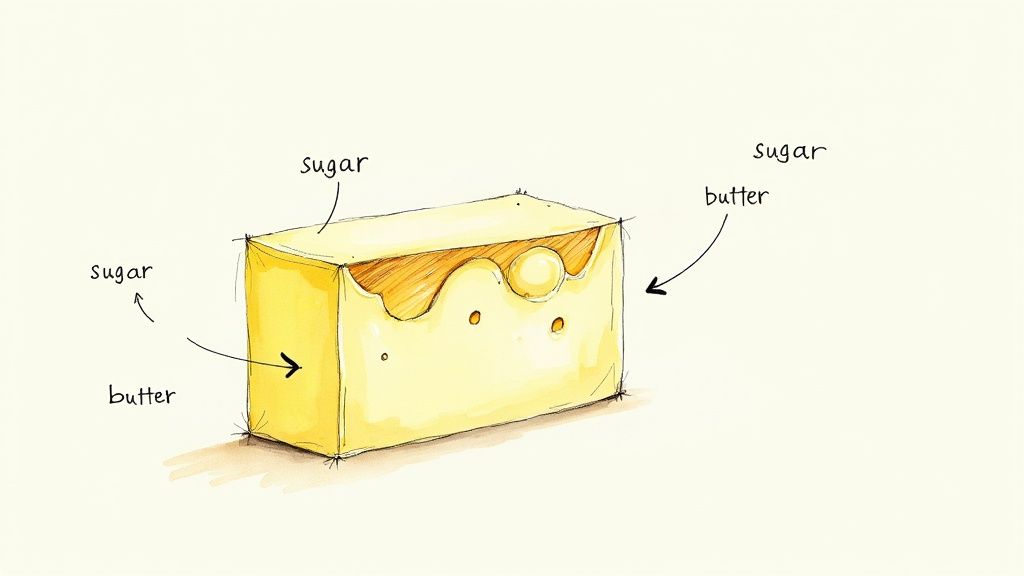
It all comes down to the relationship between fat (usually butter) and granulated sugar. Those little sugar crystals have sharp, jagged edges. As you beat them into softened butter, they act like tiny blades, cutting thousands of minuscule air pockets into the fat.
This mixture of fat, sugar, and trapped air creates a stable foam. The fat coats each tiny air bubble, holding it securely in place. This network of air is the real secret behind the creaming method.
From Air Pockets to a Perfect Rise
Once you've built this airy foundation, the real transformation happens in the oven. It’s a multi-stage process that turns that dense batter into something light and tender.
First, as the batter heats up, those trapped air pockets expand. This gives your bake its first big lift. But that’s not all they do.
These pockets also act as little collection points for the gasses released by your chemical leaveners, like baking powder or baking soda. When those ingredients get to work, they release carbon dioxide. That gas needs somewhere to go, and it naturally finds its way into the air bubbles you already created.
Without the creaming process, those gases would have fewer places to gather, resulting in a much denser, tighter crumb. The initial aeration provides the necessary structure for a powerful and even rise.
The air you worked so hard to incorporate is what creates that soft, fluffy texture, which gets locked in as it bakes, especially in an efficient convection oven. Getting a handle on how leaveners work can really up your baking game. We dive deeper into that in our article on the difference between baking soda and baking powder.
The Numbers Behind the Fluff
This isn't just baking folklore; the effect is real and measurable. Believe it or not, creaming can create an incredible 20 to 50 million microscopic air pockets in just one cup of butter. This aeration allows the batter to expand by as much as 30% in volume in the oven as steam and CO2 get to work.
Studies have actually put this to the test. Cakes made using the creaming method are, on average, 14% lighter than cakes made by just dumping all the ingredients in at once. It just goes to show how those first few minutes of beating butter and sugar are absolutely critical for achieving that light, delicate texture every single time.
A Step-by-Step Guide to Perfect Creaming
Knowing the science is one thing, but mastering the creaming method really happens at the mixing bowl. It's a technique that’s all about visual cues and feel. If you follow these steps, you’ll build the kind of muscle memory that leads to a perfect result every time, taking your bakes from pretty good to truly exceptional.
The entire process hinges on one critical factor: the temperature of your butter. It has to be at room temperature, which is roughly 65°F (18°C). Too cold, and the butter is too hard to incorporate air. Too warm, and it just turns into a greasy mess that can't hold any structure. You're looking for butter that's soft enough to indent easily with your finger but still holds its shape without looking oily.
The Creaming Process Unpacked
Once your butter is at that perfect temperature, you're ready to go. Remember, this isn't a race—patience is what builds that light, airy foundation for your baked goods.
-
Start with Fat and Sugar: Place your room-temperature butter and granulated sugar into the bowl of a stand mixer with the paddle attachment. If you're using a hand mixer, a large bowl will do just fine.
-
Begin Mixing on Low: Kick things off on a low speed. This is just to get the two ingredients acquainted without sending a cloud of sugar all over your kitchen. The mixture will look like damp, coarse sand at this point. This should only take about 30 seconds.
-
Increase to Medium Speed: After the initial mix, crank the speed up to medium. This is where the real work begins. You need to let the mixer run for a solid 3 to 5 minutes. Seriously, don't rush this part. This is when the sharp edges of the sugar crystals are cutting into the butter, creating thousands of tiny air pockets.
-
Watch for Visual Cues: You’ll see a dramatic change in the bowl. The mixture starts as a dense, yellow paste and gradually transforms into something much lighter in both color and texture. Your goal is a pale, off-white mixture that has visibly grown in volume, looking a lot like a light, fluffy frosting.
One of the biggest mistakes bakers make is stopping too soon. If the mixture still looks dense and has a deep yellow color, you haven't worked in enough air. Keep mixing until it’s noticeably pale and fluffy.
Essential Techniques for Success
Beyond just following the steps, a few pro habits will guarantee your creaming is consistent and effective. These little details make a huge difference in the final texture of your cookies and cakes.
-
Scrape Down the Bowl: This is non-negotiable. Pause the mixer at least twice while creaming to scrape down the sides and bottom of the bowl with a spatula. This simple action ensures every bit of butter and sugar is incorporated, preventing dense, un-creamed streaks from ruining your bake.
-
Add Eggs One at a Time: Once the butter and sugar are perfectly creamed, add your room-temperature eggs one by one. Mix well after each addition, waiting until the egg is fully incorporated before adding the next. This helps maintain the stable, airy emulsion you just worked so hard to create.
-
Use the Right Tools: A stand mixer fitted with a paddle attachment is the ideal tool for the job, offering steady, even power. That said, a good hand mixer will absolutely get the job done, too.
Getting these hands-on steps right is just as important as having your ingredient amounts dialed in. If you ever find yourself needing to adapt a recipe, our guide to cooking measurement conversions can be a real lifesaver, making sure your ratios are always spot-on.
Common Creaming Mistakes and How to Fix Them
Even the most experienced bakers hit a snag with the creaming method now and then. The good news? Most issues are easy to spot and even easier to fix once you know what you’re looking at. Consider this your go-to guide for turning a potential baking blunder into a sweet success.
Almost everything comes down to your butter. Its temperature is the single biggest factor in whether you build a stable, airy foundation or end up with a dense, greasy mess. Nailing this one detail is often what separates a great bake from a disappointing one.
Butter Temperature Blunders
The most common culprit behind creaming problems is butter that’s either too cold or too warm. Each extreme creates its own unique set of issues in your batter.
-
Mistake 1: Using Butter That Is Too Cold. If your butter is fresh out of the fridge, it’s just too hard for the sugar crystals to do their job. Instead of cutting in and creating tiny air pockets, the sugar just bounces off. You'll be left with a lumpy, stubborn paste with chunks of unincorporated butter.
-
Mistake 2: Using Butter That Is Too Warm. On the flip side, butter that’s too soft or melty can’t hold any air at all. The sugar will just dissolve into the fat, creating a soupy, greasy mixture. This leads directly to baked goods that are oily and flat.
For the best results, you're aiming for that perfect room temperature butter, right around 65°F (18°C). To get a better handle on this crucial ingredient, our guide on how much is 1 cup of butter offers some great tips for measuring and prep.
Timing Troubles: Under-Mixing vs. Over-Mixing
Beyond getting the temperature right, how long you mix is just as important. Both cutting the process short and letting it run for too long can ruin your final texture.
A classic mistake is stopping the mixer the second the butter and sugar look combined. The real magic—the aeration—happens over several minutes. Be patient and give the mixture time to build that light, fluffy structure.
Under-creaming is probably the more common of the two. If you stop when the mixture is still dense and a deep yellow, you haven’t trapped enough air. The result is heavy, squat cookies and cakes that fail to rise properly.
This infographic shows exactly what you’re looking for as you move through the process.

As you can see, getting to that final "fluffy" stage is a distinct and critical step. But you can also go too far. Over-creaming, especially after the eggs are in, can cause the mixture to break and look curdled. It can also create a weak, over-aerated structure that causes your cake to rise up dramatically in the oven, only to collapse into a dense crater as it cools.
Troubleshooting Your Creaming Technique
It happens to all of us! Sometimes things just don't look right. Here’s a quick visual guide to help you identify what went wrong and, more importantly, how to fix it.
Common Mistake
What It Looks Like
Why It Happens
How To Fix It
Butter is too cold
Lumpy, dense paste with visible butter chunks. The mixture won't lighten in color or get fluffy.
The butter is too hard for the sugar crystals to cut into it and create air pockets.
Let the mixture sit at room temperature for 10-15 minutes to soften, then resume mixing.
Butter is too warm
Greasy, soupy, and separated. It looks like a shiny, oily puddle.
The butter is too soft to hold its structure, so the sugar dissolves instead of aerating.
Chill the bowl in the refrigerator for 5-10 minutes to firm the butter up, then try creaming again.
Under-creaming
The mixture is a deep yellow, dense, and has a wet, sandy texture.
Not enough time was allowed for sufficient air to be incorporated. The structure is weak.
Just keep mixing! Scrape down the bowl and continue beating on medium speed until it's light and fluffy.
Over-creaming
The mixture looks curdled, broken, or watery, especially after adding eggs.
The emulsion has broken, meaning the fat and water have separated.
Add a tablespoon of your recipe's flour and mix on low speed. This can help stabilize the mixture and bring it back together.
Don't be discouraged if you run into one of these issues. Baking is a science, but it’s also a skill built on practice. Recognizing these signs is the first step toward perfecting your technique.
When Should You Use the Creaming Method?
Okay, so you get the what and the why of creaming. But the real secret to becoming a better baker is knowing when to pull this technique out of your toolbox. It’s a true powerhouse, but it's not the right tool for every single bake.
The creaming method is your best friend when you're after a light, tender crumb held together by a stable structure. It’s the starting point for so many classic baked goods that need a good amount of air whipped into them.
Perfect Bakes for the Creaming Method
Think of creaming as the foundation for those classic textures we all love. You’ll want to use it anytime a recipe needs to be delicate and cakey or satisfyingly chewy.
Here are the top candidates where creaming is the non-negotiable first step:
- Classic Butter Cakes: For things like a vanilla layer cake or a sturdy pound cake, creaming is essential. It creates that fine, even crumb and gives the cake the strength it needs to hold its shape without being heavy.
- Chewy Cookies: Ever wonder how chocolate chip or oatmeal cookies get those crispy edges and soft, chewy middles? It all starts with creaming. The air bubbles created in this step help the cookies spread just the right amount as they bake.
- Fluffy Scones and Biscuits: While many recipes call for cutting in cold butter, a brief creaming of the butter and sugar before adding liquids can give certain scones and biscuits a surprisingly light and tender texture. If your recipe includes buttermilk, you can find some great alternatives in our guide to baking substitutes for buttermilk.
What About Other Baking Methods?
Creaming is a cornerstone of baking, but it's just one of many techniques. Other bakes, like mastering puff pastry, rely on completely different principles. Understanding the alternatives is what will make you a truly versatile baker.
One popular alternative is the reverse creaming method. This technique, first introduced by baking legend Rose Levy Beranbaum back in 1982, flips the script. You mix the butter into the dry ingredients first, coating the flour particles with fat before adding the liquids. This clever trick inhibits gluten development and results in an incredibly fine, almost velvety crumb. It's a fantastic method for producing an extra delicate texture.
The real difference is the final crumb. Traditional creaming gives you a sturdy, light structure perfect for stacking in a layer cake. Reverse creaming creates a much softer, more delicate crumb that’s ideal for something like a wedding cake.
Another workhorse is the muffin method, which is all about speed and simplicity. It's the go-to for most quick breads, muffins, and pancakes. You just mix your wet ingredients in one bowl, your dry in another, and then combine the two with as little mixing as possible. This approach creates a coarser, more open crumb, which is exactly what you want in a good muffin.
Knowing which method to choose gives you complete control over your final product, letting you decide if you want something light and airy or dense and fudgy.
Common Creaming Questions, Answered
Even when you've got the basics down, a few questions always seem to come up mid-bake. Let's tackle some of the most common ones so you can troubleshoot in the moment and bake with more confidence.
Can I Just Use Oil Instead of Butter?
In a word, no. The creaming method is all about the unique structure of solid fats. When you beat solid butter or shortening with sugar, its crystalline structure creates and holds onto tiny air pockets. That’s what gives your bake its light, airy lift.
Liquid oils just don't have that ability. They can't trap air in the same way, so they won't work for recipes that rely on creaming for leavening. That's why oil-based cakes and quick breads use a different approach, like the muffin method, to get their texture.
How Do I Know When to Stop Creaming?
This is the big one! It's less about a specific time on a clock and more about what you see in the bowl. Watching for a few key visual cues will tell you exactly when you've hit that perfect, aerated stage.
Here’s what you’re looking for:
- A Change in Color: The mixture will go from that classic buttery yellow to a much paler, almost off-white color.
- A Shift in Texture: It starts out as a somewhat gritty, dense paste. When it’s ready, it will look light, soft, and fluffy—almost like a thick frosting.
- An Increase in Volume: As air gets whipped in, the mixture will noticeably expand in the bowl. On medium speed with an electric mixer, this usually takes a good 3 to 5 minutes.
The number one mistake bakers make is stopping too soon. If it still looks heavy and yellow, keep going! You're building the foundation for the entire recipe, so don't rush it.
What’s the Big Deal About Cold Eggs?
Adding cold eggs directly to your perfectly creamed butter and sugar can ruin all that effort in seconds. The sudden drop in temperature makes the butter seize up and harden, which shatters the smooth, airy structure you just created.
You'll see it right away—the mixture will look broken, curdled, or separated. When that happens, you’ve lost the air, and your final bake is likely to be dense, heavy, and even a bit greasy. Room-temperature eggs are a non-negotiable for keeping your batter smooth and stable.
Does the Kind of Sugar Really Matter?
It absolutely does. The whole process hinges on the sharp edges of sugar crystals cutting into the fat to create those air pockets. The size and shape of the crystals make a huge difference.
Granulated white sugar is the gold standard here; its crystals are the perfect size for the job. Finer sugars, like caster sugar, actually work even better because they create more, smaller air pockets. Brown sugar will work, but its higher moisture content often results in a chewier, denser final product. Powdered sugar, on the other hand, is a no-go—it's too fine and lacks the sharp crystalline edges needed to aerate the butter properly.
Tired of losing your favorite recipes from across the web? Recipe One is your personal AI-powered recipe keeper. It effortlessly captures recipes from social media, videos, and websites, organizing them into a clean, searchable library with one click. Start building your forever recipe collection today and cook with confidence.

