It’s a classic moment of frustration. You’re out camping or maybe just moved into a new apartment, stomach rumbling, and you realize the can opener is missing. Don't panic. You've almost certainly got something nearby that can get that can open.
Surviving the Kitchen Without a Can Opener
That sinking feeling is nothing new. For over a century, people have been finding clever ways to get into their canned goods. Early tin cans were ridiculously thick, often calling for a hammer and chisel just to get at what was inside. You can read more about the history of this humble kitchen tool on Wikipedia.
Thankfully, today's cans are much thinner, so you won't need a full-on toolbox. The goal here is to show you a few time-tested methods that prove you're more prepared than you think.
The secret isn’t brute strength—it’s friction and steady pressure. People get hurt when they rush or grab the wrong tool. Slow and steady wins this race.
We're going to walk through three reliable techniques that people have been using for decades:
- The Spoon Method: Believe it or not, this is the safest and most surprising option.
- The Knife Technique: A classic survival skill, but it requires a bit of care.
- The Concrete Method: Perfect for when you're outdoors with literally no tools.
Let's kick things off with the safest and easiest method of the bunch.
2. Using a Spoon: The Safest Improvised Method
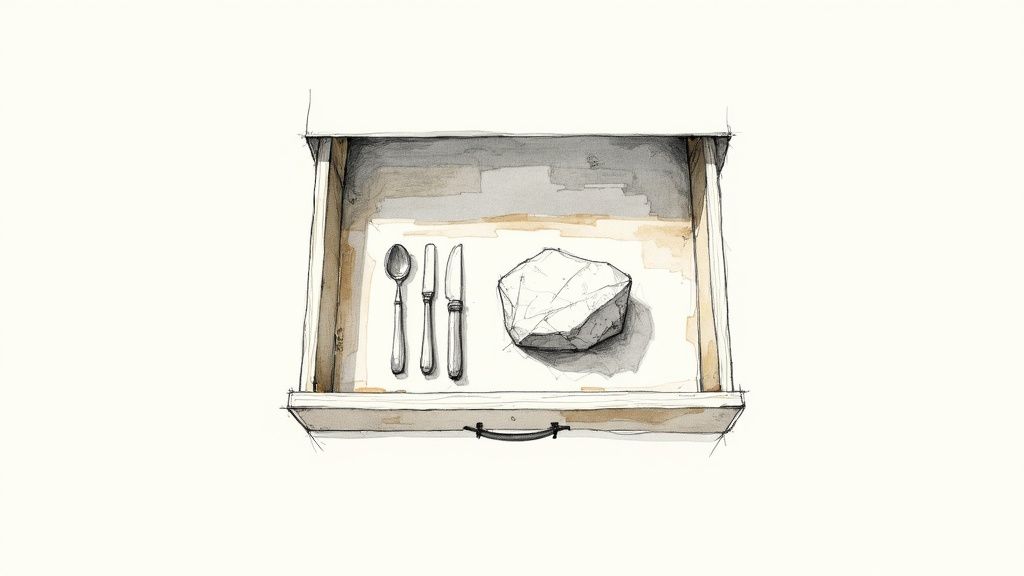
It might sound a little unbelievable, but a sturdy metal spoon is often your safest and best bet when you're in a pinch. The secret here isn’t brute force. It's all about using steady friction to wear down the can's thin metal seal, and you already have the perfect tool for it right in your kitchen drawer.
This trick works best with a strong, non-bendable spoon—think solid stainless steel. A flimsy or decorative one will likely bend or break under the pressure, so grab the most solid one you own. Your goal is to use the spoon's tip to grind away at the metal, not to punch through it.
Get Set Up
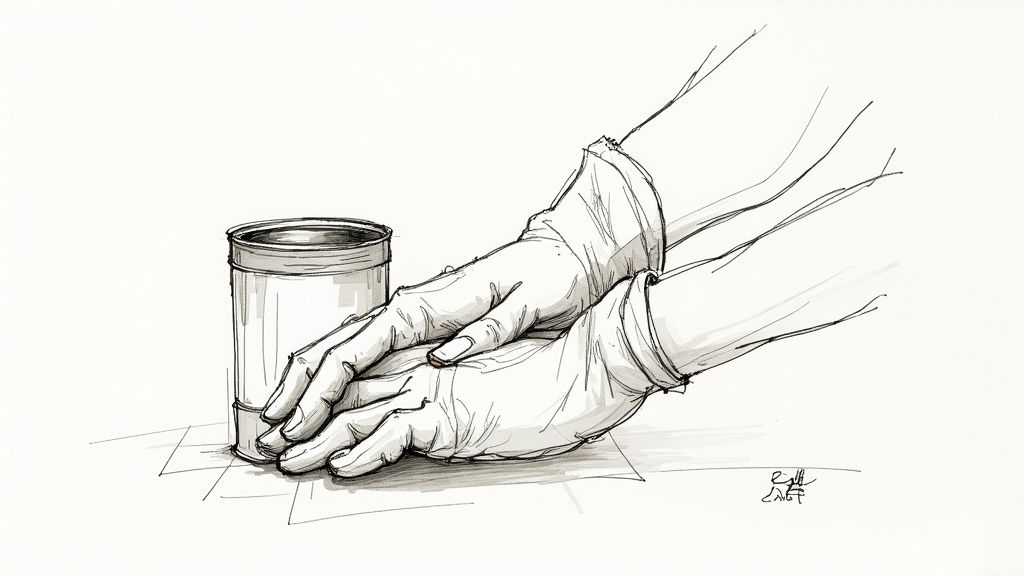
First things first, find a stable, non-slip surface. Your countertop or a sturdy table is perfect. I like to place the can on a dish towel or a silicone mat, which really helps keep it from sliding around once you start applying pressure.
Hold the can firmly with your non-dominant hand. Now, grab the spoon with your dominant hand, choking up on it so your fingers are right where the handle meets the bowl. This grip gives you far more control and leverage than holding it at the end.
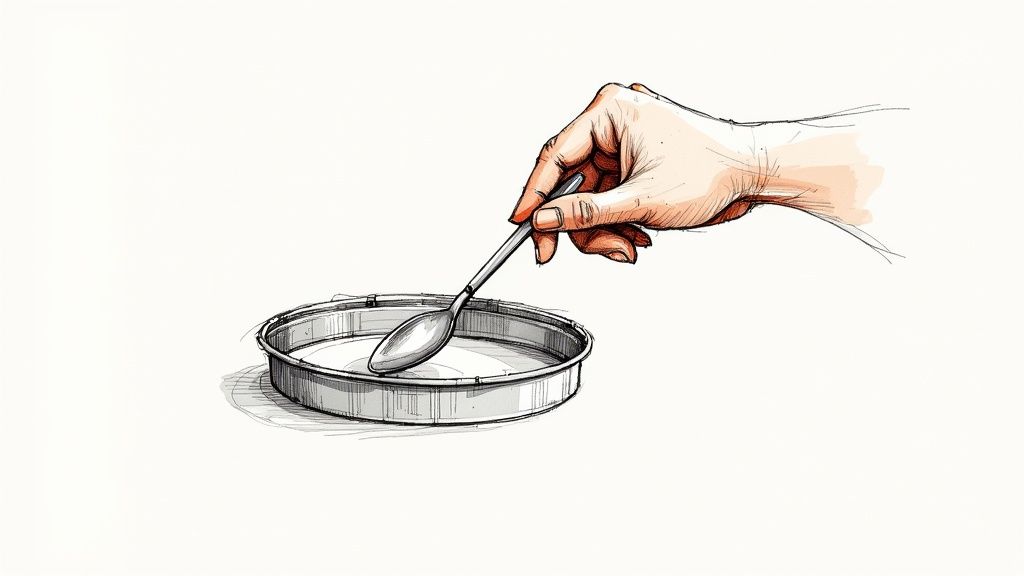
Position the very tip of the spoon on the lid, right inside that raised outer rim. That little inner groove is the weakest point of the can's seal, and it's exactly where you want to focus your effort.
Make Your Move
Okay, now for the action. Start rubbing the spoon's tip back and forth along a small, one-inch section of that inner rim. Apply firm and consistent downward pressure. You're not trying to saw through it, but to generate enough friction to thin out and weaken the metal.
It takes a little patience, but after a moment, you'll feel the metal start to give. All of a sudden, the spoon will break through, creating a small hole. Once that happens, you’ve done the hardest part.
Pro Tip: Don't try to go all the way around the lid in one go. Just move to the section right next to your first hole and repeat the process. It's much easier and safer to create a series of connected punctures than to try and pry the whole thing open from a single point.
Keep up this rubbing motion all the way around the lid. Once the seal is broken around the entire circumference, you can carefully use the spoon's tip to pry the lid up and away from the can. And just like that, you’re in.
After a bit of kitchen improvisation, your tools might need a little TLC. If you're looking for tips on keeping things in top shape, check out this guide on how to clean baking sheets and other kitchen gear.
Opening a Can with a Knife Safely
This is one of those classic survival skills, but let's be clear: it demands your full attention and a steady hand. The whole idea is to make a series of controlled punctures, not to try and saw your way through the lid. Your success—and more importantly, your safety—hinges on using the right part of the blade and staying in complete control.
First things first, grab a sturdy knife. A solid chef's knife or a well-built pocket knife will do the job. Whatever you choose, do not use the tip. It's the weakest point and can easily snap off or slip, sending the blade somewhere you don't want it to go.
You’re going to use the heel of the blade—that’s the thickest, strongest part right next to the handle. Make sure the can is on a solid, flat surface where it won't wobble or slide around.
The Puncture Technique
Get a firm grip on the knife handle and place the heel right on the inner edge of the can’s rim. Now, put the palm of your other hand flat on top of the knife's spine (the dull side), keeping your fingers far from the sharp edge. Carefully tap down with your palm to create the first small hole.
- Lift the knife and move the heel right next to the hole you just made.
- Tap down again, creating another puncture.
- Keep doing this all the way around the rim of the can.
This "connect-the-dots" method is the key. You're creating a perforated line that weakens the lid so it can be removed safely. Trying to saw or brute-force the blade through the metal is a recipe for disaster and significantly increases the risk of the knife slipping.
Once you’ve made a complete circle of holes, you can gently use the very tip of the knife to pry the lid up and away from the can. Just be extremely careful with the newly-created jagged metal edges.
This technique is a lifesaver in emergency situations when you need to get to your food. It’s also surprisingly efficient. On another note, it’s interesting that over 95% of metal from recycled cans can be reused, so opening them cleanly helps. If you're curious about the history, you can find some fascinating insights on the invention of the can opener—it was invented decades after the can itself
5. The Concrete Method: Your Outdoor Survival Trick
So, you're out camping or maybe just on a picnic, and you realize you've forgotten the can opener. Don't panic. If you have solid ground beneath you, you have a tool. This method uses simple abrasion to get the job done, and it’s a lifesaver when you're truly in a pinch.
All you need is a flat, rough surface. Think a concrete sidewalk, a large, gritty rock, or even a stray brick. The idea is to grind down the can's top seam until the seal gives way. It takes a little muscle, but it works surprisingly well.
Get Your Grind On
First things first, scout out your surface. You're looking for something with a decent amount of texture to create friction.
- Find a flat spot on a concrete path or a large, rough-surfaced rock.
- Turn the can completely upside down, so the lid you want to open is facing the ground.
- Grip the can firmly and press it down onto the concrete or rock.
Now, start rubbing the can back and forth in a scrubbing motion. Use firm, steady pressure. You’ll hear and feel the metal scraping away. Your goal is to wear down that thin, raised rim that seals the lid to the can body.
Pro Tip: Watch the surface you're grinding on. After about 15 to 20 seconds of steady rubbing, you should notice a faint line of moisture appearing. That’s the liquid from inside the can, and it’s your signal that you've broken the seal.
Pop the Top
The moment you see that moisture, stop. Seriously, stop right there. If you keep grinding, you risk making a huge mess and getting metal filings in your food.
Carefully lift the can and turn it right-side up. Find a stable spot to set it down. Now, just give the sides of the can a gentle squeeze with both hands. The internal pressure, combined with the weakened seal, should cause the lid to pop right up.
From there, you can carefully pry the lid off. Just be extra cautious of the sharp metal edges. And that's it—a little bit of grit and some basic physics are all it takes to get to your meal.
Picking the Right Can-Opening Trick for Your Situation
Alright, so you’ve got a stubborn can and no opener. Which of these methods should you actually use? The answer really comes down to where you are and what tools you have lying around. Picking the right approach isn't just about getting to the food inside; it’s about doing it without hurting yourself.
If you're in a kitchen, the spoon method is almost always your best and safest bet. It takes a bit of elbow grease, but you’re far less likely to get a nasty cut compared to using a sharp blade. The concrete method, on the other hand, is a fantastic trick for the outdoors—perfect for camping or a picnic when you've forgotten your gear and all you have is the ground beneath you.
This handy visual breaks it down nicely, helping you choose based on what's available.

As you can see, the tool you have in your hand is what really makes the decision. When in doubt, always, always go with the safest option you have.
Which No-Opener Method Is Right For You?
Let’s lay out the options side-by-side. It can help to see the trade-offs between each technique before you start wrestling with that can of beans.
| Method | Safety Level | Required Tool | Best For |
|---|---|---|---|
| Spoon | Highest | A sturdy metal spoon | Kitchen situations where safety comes first. |
| Knife | Medium | Chef's knife or pocket knife | When you have a solid knife but need to be extremely careful. |
| Concrete | Low | A rough, flat surface | Outdoor or survival scenarios where you have literally no tools. |
Each method has its moment to shine. A knife might be faster, but the spoon is steadier. The concrete method is a lifesaver outdoors but makes a mess in the kitchen.
The best method is simply the one that makes the most sense for where you are. There's no point hunting for a rock when a perfectly good spoon is sitting right there in the drawer.
Knowing the difference means you can handle a can-opener crisis with confidence. For home cooks looking to get their kitchens in order, take a look at our list of the essential kitchen tools every modern cook should have.
Got Questions? We’ve Got Answers.
Even after learning these tricks, it's natural to have a few questions pop up. Anytime you're using household items in a new way—especially with food—it's smart to be a little cautious. Let's tackle some of the most common concerns so you can feel totally confident next time you're in a jam.
The first question I always hear is about food safety. Is the food still safe to eat after you’ve pried the can open? Yes, it absolutely is, but you need to take one small, crucial step first. The friction from a spoon or knife can create tiny metal shavings around the can's rim.
To be safe, just grab a clean paper towel or cloth and give the inside rim a thorough wipe before you empty the contents. A quick wipe is all it takes to remove any stray metal bits. While you're at it, give the food a quick once-over for any signs of spoilage. It's always a good idea to know what happens if you eat mold just in case.
What if My Technique Isn't Working?
So you're rubbing a spoon on a can of beans and getting nowhere. What gives? If you're having trouble, it usually boils down to one of two things: the tool you're using or the can's construction.
When trying the spoon method, a flimsy spoon just won't do the job. You need a sturdy, non-bendable metal spoon and some firm, steady pressure. If your spoon is flexing, find a more heavy-duty one. And if the knife method feels sketchy or you have to apply a scary amount of force, stop immediately. That's not a risk worth taking. The concrete method is often a safer bet because it relies on grinding down the seal, not brute force.
Key Takeaway: It’s always better to switch methods than to force one that isn't working. Your safety is more important than that can of soup.
You might be tempted to grab other tools from the garage, like pliers or a screwdriver. While it seems like a good idea, these often create more problems than they solve. Using pliers to peel back the lid can leave a dangerously sharp, jagged edge. Trying to puncture a can with a screwdriver and hammer can easily lead to a slip and a serious injury. For the best combination of safety and success, the trusty spoon is your best bet.
At Recipe One, we think cooking should be all about creativity, not frustration. Our app is designed to help you save any recipe from anywhere—whether it's a video, a website, or a quick snap of a recipe card from your grandma. Everything gets organized into a beautiful, easy-to-search library. No more hunting through screenshots!
Visit Recipe One to start building your personal cookbook today.

