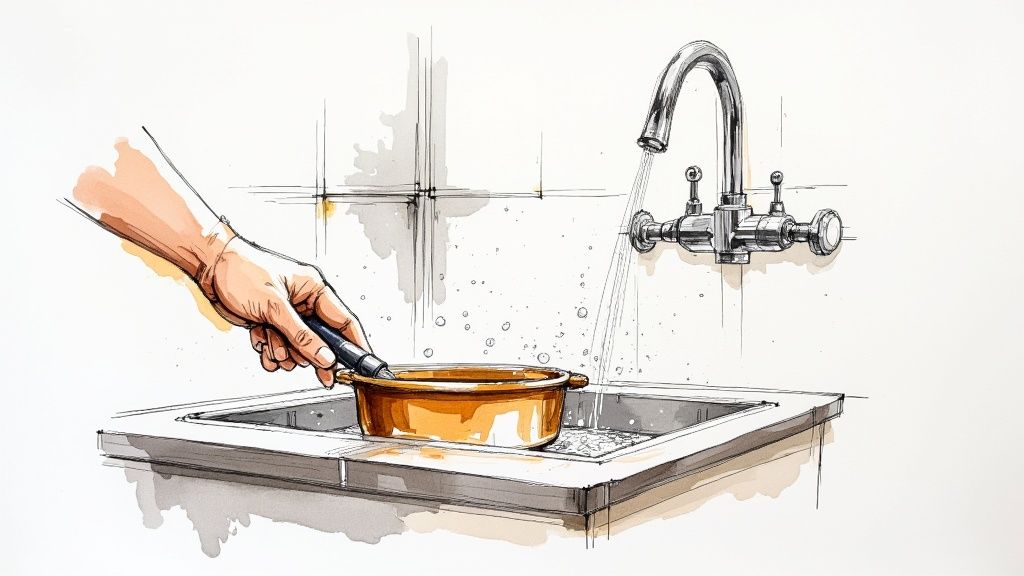
Let's be honest, not every mess in the kitchen calls for an all-out cleaning blitz. For the everyday grease and grime on your baking sheets, the best approach is often the simplest: a little bit of mild dish soap, warm water, and a soft sponge.
The most important thing to remember? Always let a hot pan cool down completely before you even think about putting it in water. Tossing a sizzling pan into a sink of cold water is a surefire way to warp it for good.
Your Quick Guide to Sparkling Clean Baking Sheets
Think of this as your first line of defense. When you've just pulled a batch of cookies out of the oven and need a quick turnaround, this is where you start. Most of the time, consistent, gentle care is what will keep your bakeware in great shape for years to come.
Matching Your Pan to the Method
The trick to cleaning baking sheets without ruining them is knowing what they're made of. A cleaning technique that gets a stainless steel pan gleaming can completely destroy a non-stick surface.
Non-stick coatings, for example, are famously delicate. One good scrub with the wrong thing can scratch the coating, and once it's compromised, it's pretty much downhill from there, shortening its typical 3 to 5-year lifespan. If you want your pans to last, you've got to use the right tools for the job. You can find more great advice on how to properly clean baking sheets to keep them looking and performing their best.
To make things even easier, I've put together a little cheat sheet. This table breaks down the best way to tackle each common type of baking sheet.
Baking Sheet Cleaning Cheat Sheet
Baking Sheet Material
Recommended Cleaner
Scrubbing Tool
Key Precaution
Aluminum
Mild dish soap, Baking soda paste
Soft sponge, Non-scratch pad
Avoid harsh detergents that cause discoloration
Non-Stick
Mild dish soap
Soft sponge, Microfiber cloth
Never use abrasive scrubbers or steel wool
Stainless Steel
Dish soap, White vinegar
Nylon brush, Non-scratch pad
Dry immediately to prevent water spots
Carbon Steel
Hot water, Minimal soap
Stiff brush, Scraper
Re-season with oil after drying to prevent rust
This quick guide should help you avoid any cleaning mishaps and keep your bakeware in prime condition for all your baking adventures.
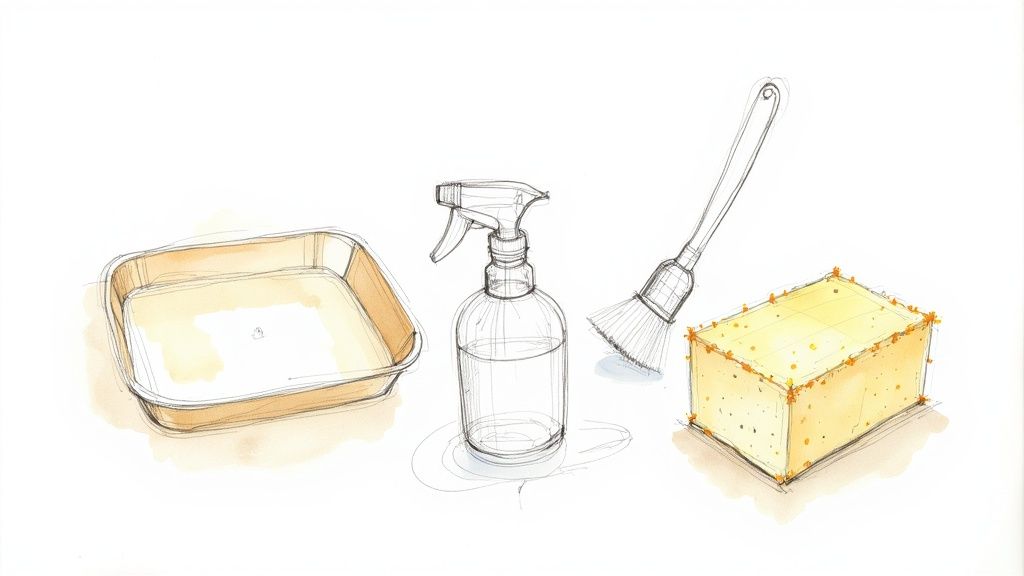
Pro Tip: If you're dealing with some light, stuck-on residue, don't immediately reach for the heavy-duty scrubbers. Just let the pan soak in warm, soapy water for 15-20 minutes. This little bit of patience does most of the hard work for you, softening up the gunk so you can wipe it away with minimal effort.
Honestly, this simple, gentle approach will take care of about 90% of your daily cleaning needs. Before you break out the more aggressive cleaners, always give this a try first. You’ll be surprised how often it's all you need to get your pan ready for its next use.
Natural Ways to Beat Stubborn Stains
When soap and water just aren't cutting it, you don't have to resort to harsh chemicals to get your baking sheets clean. The solution is probably already in your kitchen pantry. A simple paste made from baking soda and water is a surprisingly powerful first line of defense against stubborn, baked-on grease.
The real magic here is that baking soda is a mild abrasive. It has just enough grit to scrub away grime without scratching up your pan’s surface, which is great for both aluminum and stainless steel. Honestly, this is my personal go-to for those greasy, browned corners that seem impossible to clean.
Before diving into the heavy-duty stuff, this simple breakdown covers the basics.
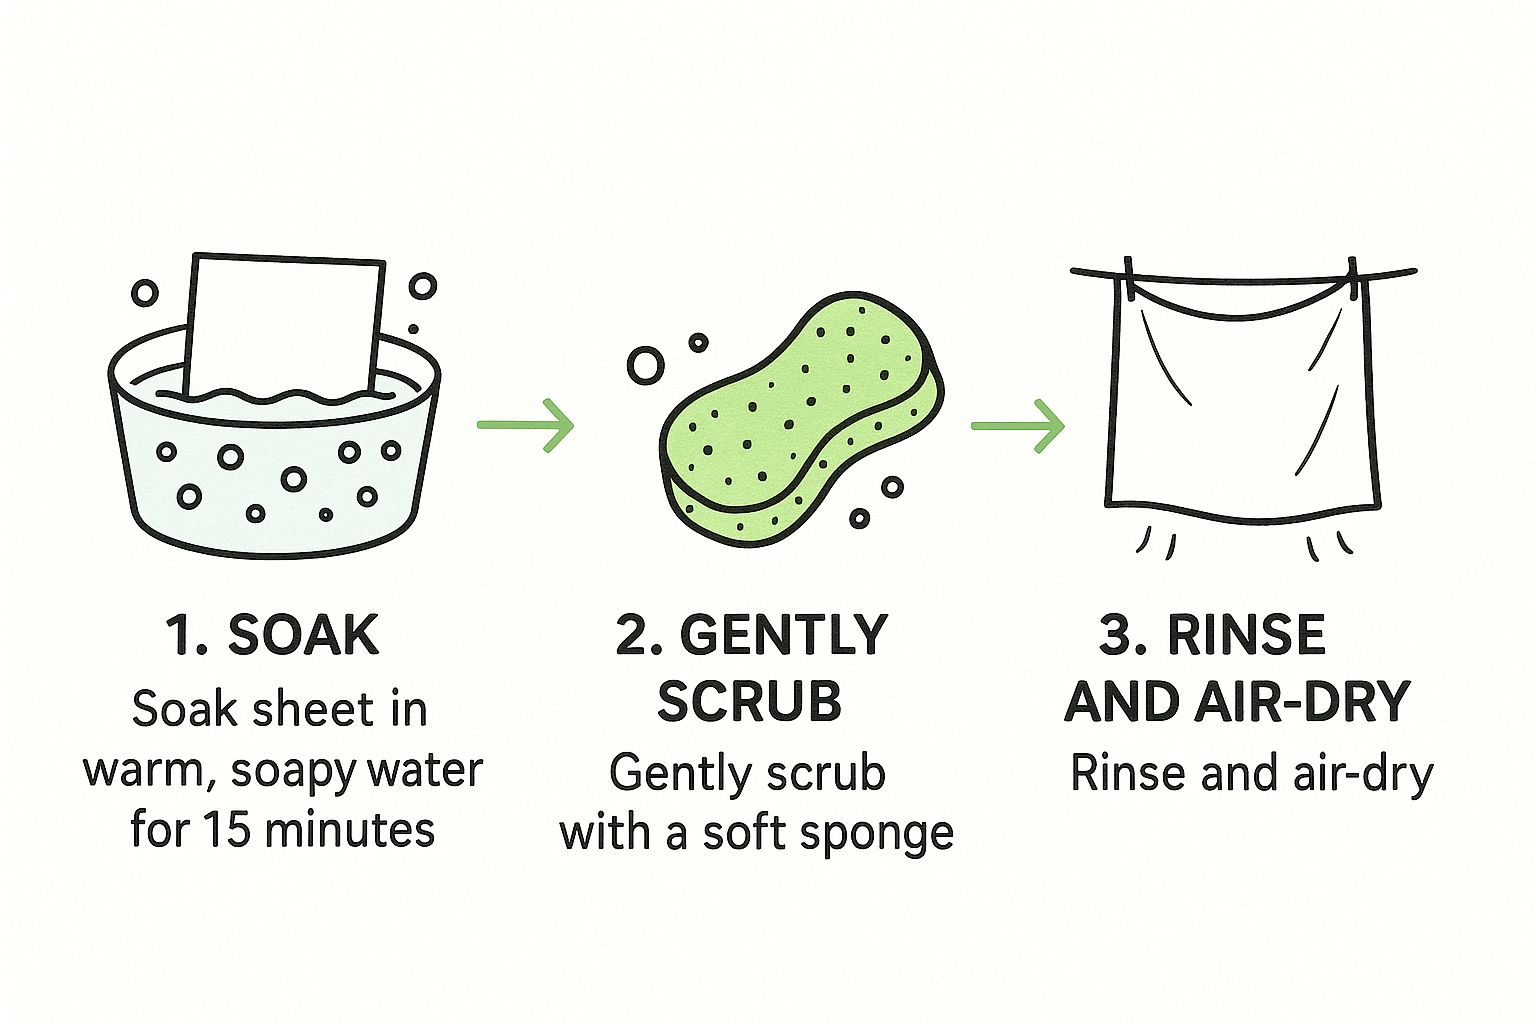
As you can see, sometimes all a pan needs is a quick soak and a gentle scrub. It's always best to start with the simplest, least abrasive method first.
The Baking Soda and Vinegar Trick
For a little more cleaning power, combining baking soda and white vinegar creates a fizzing reaction that can work wonders on years of buildup. That chemical reaction is what helps dissolve and lift away the grime that feels permanently fused to the metal.
The secret to making this method work is patience. Let the mixture sit and do its thing. The fizzing reaction needs time to break down the polymerized oils—that’s the scientific name for those sticky, dark stains. Don’t rush it.
This combo is a favorite among home cleaning experts for a reason. A good starting point is to sprinkle about two tablespoons of baking soda on the pan, pour over one cup of vinegar, and let it all sit for at least 30 minutes. For really neglected pans, you might even let them soak overnight with this mixture and some hot, soapy water. The results can be incredible.
Making and Using a Cleaning Paste
You don’t need to be precise here. Just grab a small bowl, add about a half-cup of baking soda, and then slowly add water, a little at a time, until you get a thick paste—think the consistency of toothpaste. If you’re trying to scale this for a lot of pans, you might find this guide on converting grams to cups handy.
Once you have your paste, spread it evenly over the stained spots on your baking sheet. Let it sit for at least 30 minutes, but for really tough jobs, an hour or two is even better. As the paste dries, it helps pull the grease and grime away from the surface.
Then, just grab a non-scratch sponge or a nylon brush and scrub it all away before giving the pan a good rinse.
Tackling Tough, Burnt-On Grease and Grime
Let’s talk about that one baking sheet. You know the one—it’s covered in layers of blackened, sticky gunk that looks like it’s been there for years. This is usually the point where most people toss it and buy a new one, but you can bring it back to life. It just requires a little more patience.
The first line of defense for these really tough cases is an overnight soak. And I don’t just mean a quick dip in soapy water. This is about giving a powerful solution the time it needs to break down polymerized oils. That's the science-y term for the dark brown, tacky residue that builds up when oil is heated past its smoke point over and over again. Knowing your cooking oil smoke point chart can help you avoid this mess in the first place.
To start, fill your sink or a large tub with the hottest water you can get from the tap. Add a generous amount of dish soap, then fully submerge the pan. Just leave it be for at least eight hours, preferably overnight, and let it do its thing.
The Heavy-Duty Duo: Hydrogen Peroxide and Baking Soda
If an overnight soak didn't cut through the worst of it, it's time to bring out the big guns. This simple combo creates a potent, non-toxic paste that can lift away stains that seem permanently fused to the metal.
Here's how to do it:
- First, sprinkle a thick, even layer of baking soda all over the damp surface of the pan. Don't be shy with it.
- Next, pour a bit of standard 3% hydrogen peroxide over the baking soda to create a thick, wet paste.
- Let this mixture sit and fizz for at least 2-4 hours. If your pan is practically black, letting it sit overnight is your best bet.
You'll see a gentle fizzing action as the paste works. That's how you know it's loosening all that baked-on grime without you having to use harsh chemicals.
My Personal Tip: Before you start scrubbing, test a small corner with a plastic scraper or even an old credit card. If the gunk flakes off easily, the paste has worked. If it’s still holding on for dear life, give it more time. This little check has saved me so much unnecessary scrubbing.
Once the paste has had enough time to work, grab a non-scratch scouring pad and start scrubbing. You'll be surprised at how much grime comes off, revealing the shiny pan you thought you’d lost forever. It's a truly satisfying feeling.
Common Mistakes That Can Ruin Your Baking Sheets
Knowing the right way to clean your baking sheets is half the battle. The other half is knowing what not to do. It’s surprisingly easy to wreck your favorite pan for good with a few common, well-intentioned mistakes.
One of the biggest culprits? Using the wrong cleaning tools. Grabbing a pad of steel wool or a super abrasive scrubber for a non-stick sheet is a death sentence for its coating. The second that surface gets scratched, its non-stick days are over, and everything you bake on it will stick like glue.
Another classic mistake is thermal shock. We've all been tempted to take a sizzling pan straight from the oven and run it under cold water to get a head start on cleaning. Don't do it. That sudden temperature change will cause the metal to warp instantly, leaving you with a wobbly pan that never sits flat again. Always let your sheets cool down on the stovetop first.
Debunking Dangerous Cleaning Hacks
You’ve probably seen some of those "miracle" cleaning hacks online. Be careful—some of them can cause serious damage. The absolute worst piece of advice is to use your oven's self-cleaning cycle to burn the gunk off a baking sheet.
The self-cleaning function cranks the heat up to extreme levels, sometimes over 800°F (426°C). At those temperatures, non-stick coatings can release toxic fumes, and the intense heat can permanently warp even the sturdiest pans. It's also a legitimate fire hazard.
People have tried this on hopelessly stained pans, and while it might incinerate the residue, the risks are just too high. In some documented cases, this method has started actual fires inside the oven. You can discover more about these high-heat cleaning outcomes on agardenforthehouse.com and see why it’s a shortcut worth skipping.
Here are a few other common-sense things to steer clear of:
- Harsh chemicals: Never use oven cleaner or bleach on your bakeware. They can eat away at protective coatings and permanently discolor aluminum.
- Scraping with metal: Using a knife or a metal spatula to pry off stuck-on food is a surefire way to gouge the surface.
- Leaving them wet: Always dry your baking sheets thoroughly. Water left sitting on steel pans, in particular, will lead to rust spots over time.
By sidestepping these simple pitfalls, you'll protect your pans and keep them in great shape for years of baking to come.
Smart Habits to Keep Your Baking Sheets Like New
Once you've put in the work to get your baking sheets sparkling again, you'll want to keep them that way. The secret isn't more scrubbing—it's preventing the mess before it even starts. A few simple habits can make all the difference.
Your new best friends in the kitchen should be parchment paper and silicone mats. Seriously. Lining your pan creates a protective barrier between your food and the metal surface. This is a game-changer for stopping sugars from caramelizing directly onto the pan and preventing oils from baking into that stubborn, sticky residue.
Think of it this way: for the small cost of parchment paper, you’re saving yourself a ton of future scrubbing. It’s hands-down the most effective habit you can adopt for preserving your bakeware.
Protect Your Pans After Cleaning
Good bakeware care doesn’t end when the scrubbing does. How you dry and store your pans plays a huge role in how long they last and how well they perform.
Make sure to dry your baking sheets thoroughly as soon as you wash them. Even a little bit of lingering moisture can lead to rust spots or discoloration, especially on aluminum or steel pans. A quick but careful wipe with a dry towel is all you need to do.
When it comes to storage, try not to stack bare metal pans directly on top of each other. This is a surefire way to get scratches and dings, which can ruin a non-stick coating or create new spots for food to cling to.
- Here's a simple fix: Just slip a paper towel or a thin dish towel between each pan. It’s an easy, cheap way to cushion them and prevent damage.
These small tweaks to your routine mean your pans will always be ready for action, whether you're tackling a recipe that needs a specific temperature from an oven temperature conversion table or just throwing together a quick weeknight dinner.
FAQs: Your Top Baking Sheet Cleaning Questions Answered
Even with the best cleaning methods, you'll probably run into a few tricky spots. I get these questions all the time, so let's clear up some of the most common hangups when it comes to getting those pans sparkling again.
Can I Just Use Steel Wool on Those Really Burnt Spots?
I know it's tempting to reach for the toughest scrubber you have, but please avoid steel wool. On a non-stick pan, it's an instant deal-breaker—it will completely shred that delicate coating, and there's no going back.
Even on sturdy aluminum or stainless steel sheets, steel wool can carve deep scratches into the surface. Beyond just looking bad, those grooves become a brand-new place for food to get stuck next time you bake. A non-scratch scouring pad and a thick baking soda paste give you plenty of scrubbing power without the permanent damage.
Here's a good rule of thumb I've always followed: if a scrubber feels like it would scratch your fingernail, it’s definitely too harsh for your bakeware. Gentle persistence is always the way to go.
Is It Really That Bad to Put Them in the Dishwasher?
Plenty of baking sheets say "dishwasher safe" right on the label, but I'm a firm believer in handwashing. The aggressive detergents in most dishwashers are notorious for discoloring aluminum and slowly eating away at non-stick coatings.
Plus, the high heat and intense water pressure can easily warp thinner pans over time. Taking a few extra minutes to wash them by hand gives you far more control and is the single best thing you can do to make your bakeware last for years.
How Can I Get My Dull Aluminum Pan to Shine Again?
It happens to the best of us—that once-shiny aluminum pan now looks dull and discolored. This is usually just a reaction to acidic foods or certain dish soaps. The good news is you can often bring back some of that original luster with cream of tartar.
Here’s the trick:
- Mix two teaspoons of cream of tartar into a quart of water in a large pot.
- Bring it to a boil.
- Carefully place your baking sheet in the hot mixture and let it soak for about 10 minutes.
This little bath helps lift off that dull, oxidized layer. Once the time is up, just take it out and give it a gentle wash with mild soap and water.
At Recipe One, we believe great meals start with great organization. When your favorite recipes are buried in screenshots and random browser tabs, cooking can feel chaotic. Recipe One is your personal AI-powered recipe keeper that neatly captures, formats, and organizes recipes from anywhere online with just a single click.

