We've all been there: staring at a rock-solid block of frozen chicken, wondering how to get it ready for dinner without a food safety disaster. The truth is, how long it takes to thaw really depends on the chicken's weight and the method you use.
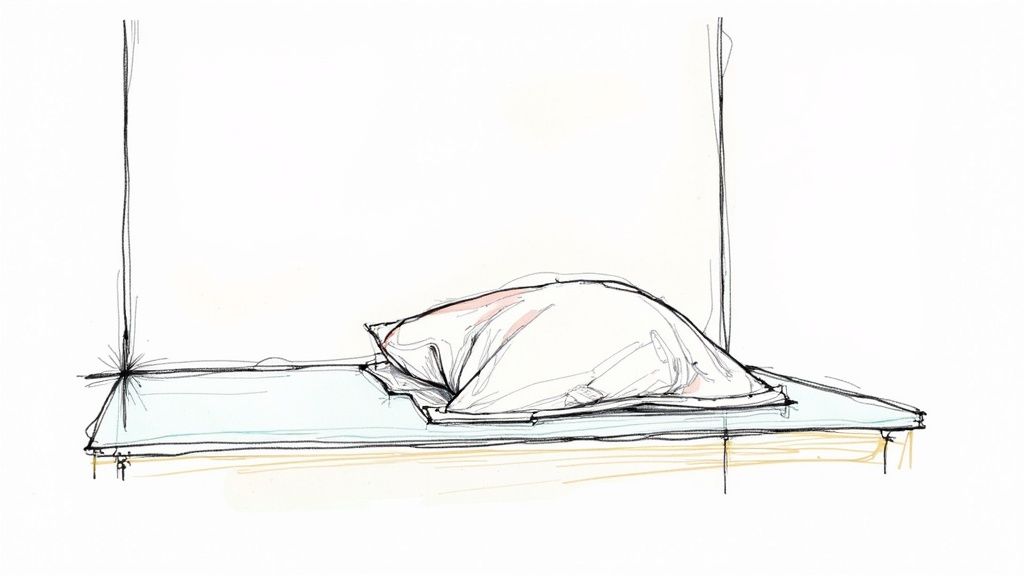
The safest, most reliable way is to let it thaw slowly in the refrigerator. It’s a hands-off approach that keeps the chicken at a consistent, safe temperature. As a rule of thumb, plan on about 24 hours for every 5 pounds of chicken.
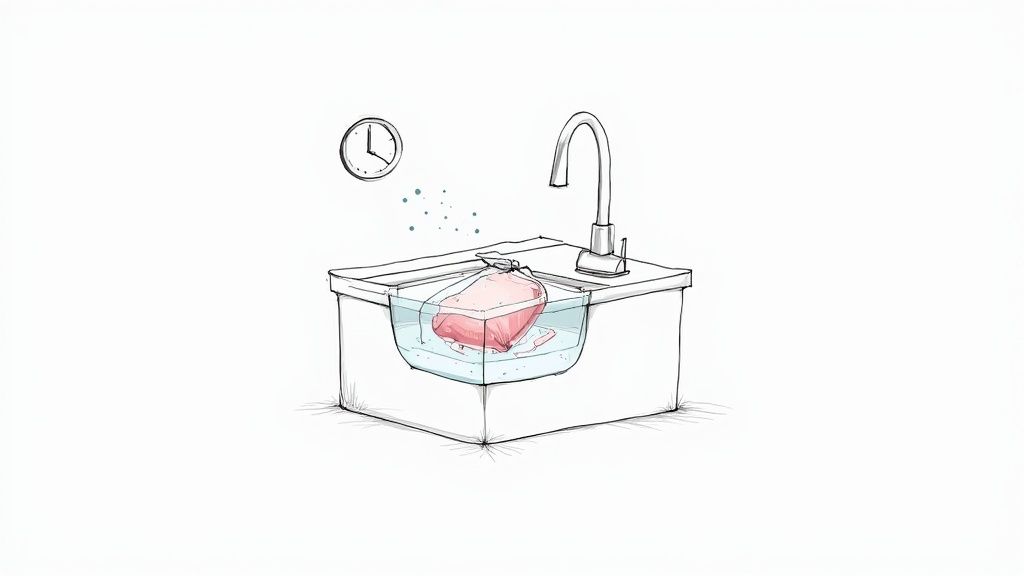
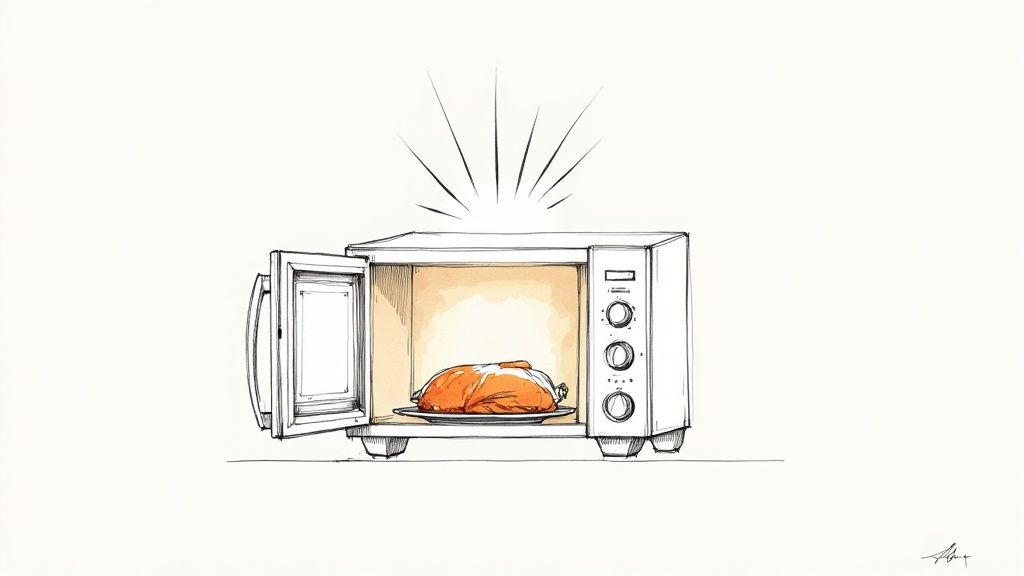
Need it faster? The cold-water method is a great same-day option, taking roughly 30 minutes per pound. And for those last-minute dinner emergencies, the microwave is your quickest bet, but it comes with a catch: you have to cook the chicken immediately after.
Thawing Times at a Glance
This chart breaks down what you can expect from each method, giving you a clearer picture of the time commitment involved.
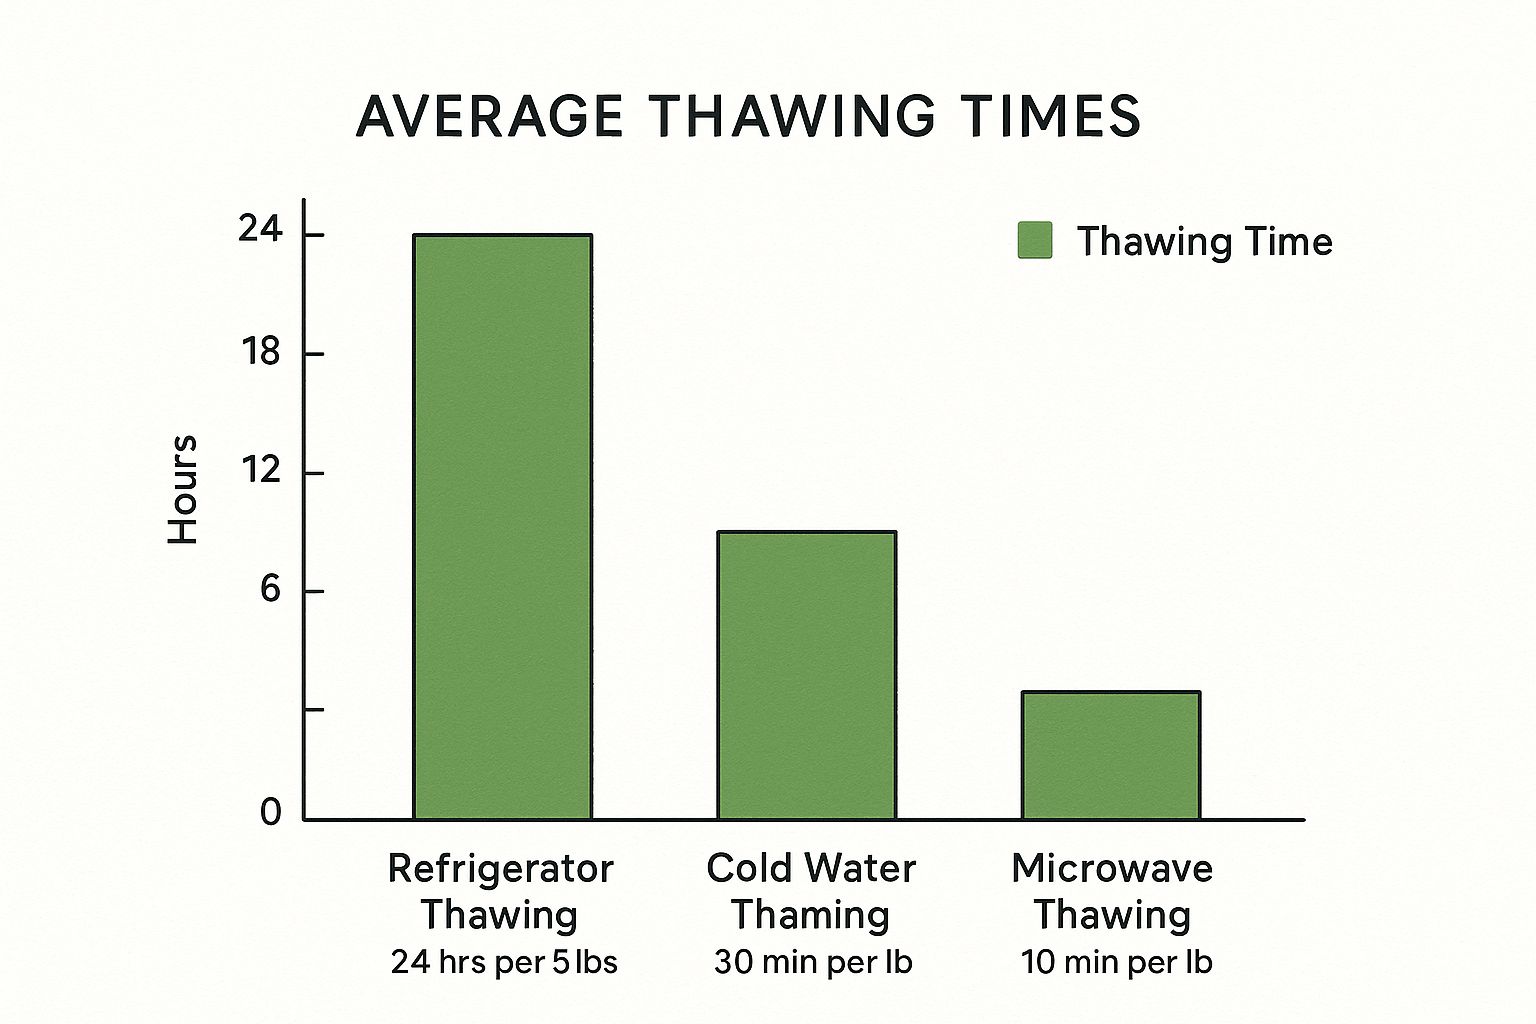
As you can see, there’s a huge difference between the slow-and-steady refrigerator method and the near-instant results from the microwave.
My Two Cents: I always try to plan ahead and use the fridge method. It’s foolproof and produces the best results. The slow, controlled thaw keeps the chicken’s texture perfect and ensures it never enters the temperature "danger zone" where bacteria can multiply.
Knowing your chicken's weight is key to getting the timing right. If your recipe is in grams and you need pounds, you might need to do a quick conversion. For other common kitchen conversions, our guide for converting grams to cups can be a real lifesaver.
Estimated Chicken Thawing Times by Method and Weight
To make things even easier, here’s a quick-reference table. It gives you a solid estimate for how long it'll take to thaw different cuts of chicken using the three main safe methods.
Chicken Cut (Weight)
Refrigerator Thawing Time
Cold Water Thawing Time
Microwave Thawing Time
Boneless Breasts (1 lb)
12-24 hours
1 hour
5-10 minutes
Bone-In Parts (3-4 lbs)
1-2 days
2-3 hours
15-20 minutes
Whole Chicken (5 lbs)
2-3 days
3-4 hours
25-30 minutes
Remember, these are just estimates! Factors like your fridge's temperature and the exact shape of the chicken can affect the final time. It's always a good idea to check on it periodically.
Why You Should Never Thaw Chicken on the Counter
We’ve all been there. You forget to take the chicken out of the freezer, and now dinner is just a few hours away. It's tempting to just leave it on the kitchen counter to speed things up, but this is one of the biggest food safety mistakes you can make. The reason is all about something experts call the "temperature danger zone."
This "danger zone" is any temperature between 40°F and 140°F. In this range, dangerous bacteria like Salmonella and Campylobacter can grow at an alarming rate. When you set a frozen chicken on the counter, the outer layers warm up quickly and enter this zone, even while the inside is still a solid block of ice.
A Playground for Bacteria
Think of the surface of that chicken as a perfect incubator. Once it hits that sweet spot above 40°F, the number of bacteria can literally double in just 20 minutes.
After a couple of hours on the counter, the outside of the meat can be covered in harmful microorganisms, long before the center has even begun to properly thaw.
And it's a surprisingly common shortcut. One market survey found that 31.66% of people admit to thawing chicken on the counter, making it the most popular method despite the risks.
The scary part is that this bacterial growth is completely invisible. You can't see, smell, or taste it. Even cooking the chicken thoroughly might not be enough to destroy all the toxins some bacteria produce. This is why proper kitchen hygiene is so important, from safe thawing to knowing how to properly clean baking sheets to avoid cross-contamination.
The bottom line is this: thawing chicken on the counter is a huge gamble. While the inside is slowly defrosting, the outside is spending hours in a bacterial breeding ground. It’s a completely unnecessary risk.
Stick to a controlled, cold thawing method, like in the fridge or a cold water bath. These methods keep the chicken below 40°F the entire time, stopping bacteria in their tracks and making sure your meal is both safe and delicious.
The Refrigerator Method: Your Safest Bet
When it comes to thawing chicken, there's one method that stands head and shoulders above the rest for safety and quality: the refrigerator. This is the technique that chefs and food safety pros swear by, and for good reason. It keeps your chicken at a consistent, cold temperature, well out of the "danger zone" where bacteria can thrive.
The trade-off? Time. This is not a last-minute solution. But if you can plan ahead, you'll be rewarded with chicken that has the best possible texture and moisture, making for a much better final dish.
How Long Will It Take?
So, how much time do you actually need to set aside? A good rule of thumb is to plan for 24 hours for every 4 to 5 pounds of frozen chicken. Of course, smaller cuts will be ready much sooner.
Here's a more practical breakdown to help you map out your meals:
- Small Cuts (1-2 lbs): A couple of boneless, skinless chicken breasts or a small pack of thighs? They'll likely be good to go in about 24 hours.
- Medium Roasters or Parts (3-4 lbs): If you've got a small whole chicken or a family-sized pack of bone-in pieces, you should budget up to two full days.
- Large Whole Birds (5+ lbs): For that big Sunday roaster, don't be surprised if it takes two to three days to thaw all the way through.
It might seem like a long time, but this slow, gentle thaw is precisely what keeps the chicken safe and preserves its quality.
Here's a pro tip I've learned the hard way: Always put the frozen chicken in a baking dish or on a rimmed tray before it goes into the fridge. As it thaws, it will release liquid. This simple step contains the mess and prevents raw chicken juices from contaminating other food.
Where to Place It in the Fridge
Positioning matters more than you might think. Always, always place the thawing chicken on the bottom shelf of your refrigerator.
This is a non-negotiable food safety rule. If any juices happen to leak out of your container, gravity will keep them from dripping onto your produce, leftovers, or anything else stored below.
Once your chicken is fully thawed, you have a little flexibility. It will stay perfectly safe to cook for another 1 to 2 days. This buffer is great for when dinner plans inevitably change. A little patience up front really does pay off in flavor, texture, and peace of mind.
Using Cold Water for Faster Thawing
It’s 3 PM, and you just remembered the chicken for dinner is still a solid block of ice in the freezer. We’ve all been there. This is where the cold water method comes to the rescue. It's a lifesaver when you're short on time, much faster than thawing in the fridge, and perfectly safe if you do it right.
First things first, and this is crucial: make sure your chicken is sealed up tight in a leak-proof bag. You can leave it in its original airtight packaging or pop it into a heavy-duty zip-top bag. The goal is to prevent any water from getting to the chicken and to stop any raw chicken juices from contaminating your sink. Nobody wants waterlogged chicken or a kitchen safety hazard.
The Thawing Process
With your chicken safely bagged, place it in a large bowl or a clean sink and cover it completely with cold tap water. It might be tempting to use warm or hot water to speed things up even more, but don't do it. Hot water can warm the outer layers of the chicken into the bacterial "danger zone" (40°F to 140°F) while the inside is still frozen.
Now for the part that requires a little attention: you have to change the water every 30 minutes. The frozen chicken will quickly chill the water around it, slowing the thawing process to a crawl. Swapping it out with fresh, cold tap water keeps things moving along safely.
Think of it this way: the cold water is constantly drawing the frost out of the chicken. But once the water gets too cold, it loses its effectiveness. A fresh batch of cold water every half hour keeps the process active and safe.
So, how long will this take? A good rule of thumb is about 30 minutes per pound.
- A 1-pound package of chicken breasts will likely be ready in about an hour.
- A 4-pound whole chicken will need around 2 hours.
This isn't a "set it and forget it" method, but it's incredibly effective when you need that chicken thawed today. Just remember, once it's fully thawed, you need to cook it right away. No putting it back in the fridge for later.
When You're in a Real Pinch: The Microwave Method
Let's be honest, we've all been there. It's 5 PM, the chicken is still a block of ice in the freezer, and you need dinner on the table now. This is when the microwave can be a real lifesaver, but you have to handle it with care.
Think of microwave thawing as an emergency button. It's fast, but that speed comes with a major catch: some parts of the chicken can start to cook while other parts are still frozen solid. This uneven heating can create warm spots where bacteria can start to party.
Because of this, you absolutely must cook the chicken immediately after it's done thawing. No exceptions. Don't thaw it and toss it back in the fridge for later.
How to Do It Safely
The key is to use your microwave's defrost setting. Don't just nuke it on high. The defrost function is specifically designed to cycle the power, giving the heat a chance to even out a bit more gently.
- Most microwaves will let you defrost by weight. If you have that option, use it.
- For about a pound of boneless chicken, you're looking at roughly 8-10 minutes on the defrost setting.
- Halfway through the timer, hit pause and pull the chicken out. Try to separate the pieces as much as you can. This is a crucial step for preventing those cooked edges and icy centers.
If you remember one thing, make it this: The moment that chicken comes out of the microwave, it's go-time. The cooking process has already begun, and you need to finish the job right away to make sure it's safe to eat.
While it’s a fantastic trick to have up your sleeve for those forgetful days, it’s definitely a last resort. It requires you to be on the ball to ensure you end up with a meal that’s both safe and delicious.
Common Questions About Thawing Chicken
Even when you follow the rules for thawing chicken, some questions always seem to come up. Let's tackle a few of the most common ones so you can get that chicken ready for dinner with total confidence.
One of the biggest hang-ups is about refreezing. What if your dinner plans change? Can you pop that thawed chicken back in the freezer? It depends entirely on how you thawed it. If you used the slow-and-steady refrigerator method, you can safely refreeze it, no problem. Just know it might lose a little bit of its texture.
But if you used the cold water or microwave method, you've got to cook it first. Those faster techniques can warm up parts of the chicken just enough for bacteria to get a foothold. The only safe way forward is to cook it to an internal temperature of 165°F before thinking about refreezing.
How to Tell if Your Chicken Is Fully Thawed
So, when is it really ready to cook? The best way to know for sure is to just get your hands on it. A fully thawed piece of chicken will feel soft and pliable all the way through. You shouldn’t feel any hard, icy sections, especially in the thickest parts.
With a whole chicken, the trick is to reach inside the cavity. That's the last place to thaw and where ice crystals love to hide. If it's clear of ice inside and out, you’re good to go.
I've made this mistake myself—I once put a chicken in the oven that felt perfectly thawed on the outside, only to realize later that the cavity was still a solid block of ice. Trust me, always check inside.
What if You Start Cooking Partially Frozen Chicken?
It happens. You thought the chicken was ready, but it’s still a bit frozen in the middle. While it’s not ideal, you can still cook it, you just have to be smart about it.
Plan on adding at least 50% more cooking time than your recipe suggests. The real danger here is an unevenly cooked bird—burnt on the outside and raw on the inside. To avoid this, lower your oven temperature a bit to give the heat time to penetrate all the way through. You might also want to keep an eye on your cooking oil's smoke point to prevent any burning.
A meat thermometer isn't optional here; it's essential. Make sure the thickest part of the chicken reaches that magic number: 165°F.
Never lose another recipe you find online. With Recipe One, you can automatically save recipes from any website, social media post, or video with a single click. It's time to organize your cooking inspiration effortlessly. Try Recipe One for free today!

