Cooking a cured ham is surprisingly straightforward. As a general rule, plan on about 15-20 minutes per pound in a 325°F (163°C) oven. This simple formula is your best starting point, though the exact time will shift slightly depending on whether you have a bone-in, boneless, or spiral-cut ham.
Your Quick Guide to Cured Ham Cooking Times
Let's take the guesswork out of preparing this holiday classic. Since most hams you buy are already fully cooked, you’re not actually cooking it—you're just gently reheating it without drying it out. The secret? A low and slow oven temperature is your best bet for a juicy, tender result.
The Basic Timing Formula
I’ve found that a steady 325°F (163°C) oven works beautifully. It's the perfect temperature to warm the ham all the way through without turning the outside into leather.
If your oven tends to run a bit hot or you need to adjust the temperature for other dishes, you can check out this helpful oven temperature conversion table to stay on track. From there, it's just a simple calculation based on the weight of your ham.
A Tip from My Kitchen: I always let my ham sit on the counter for about an hour before it goes into the oven. A ham that isn't fridge-cold will cook much more evenly.
Nail the Perfect Temperature
While timing charts are fantastic guides, nothing beats a reliable meat thermometer for guaranteeing your ham is perfectly and safely heated.
For a larger, whole bone-in cured ham in the 10 to 14 pound range, you're looking at about 18 to 20 minutes per pound. According to the USDA, the target is an internal temperature of at least 145°F (63°C). Once it hits that mark, pull it out and let it rest for at least 3 minutes before carving.
This quick reference chart breaks down the timing for you.
Cured Ham Cooking Times at 325°F (163°C)
Ham Type & Size
Minutes Per Pound
Target Internal Temperature
Fully Cooked, Whole, Bone-In
18-20 minutes
145°F
Fully Cooked, Half, Bone-In
22-25 minutes
145°F
Fully Cooked, Whole, Boneless
15-18 minutes
145°F
Fully Cooked, Half, Boneless
18-24 minutes
145°F
Fully Cooked, Spiral Cut
12-15 minutes
140°F
Partially Cooked, "Cook-Before-Eating"
20-25 minutes
160°F
Just remember to check the temperature in the thickest part of the ham without touching the bone. Following this guide will get you a perfectly warmed ham every single time.
Choosing the Right Cured Ham for Your Meal
Before we can even talk about how long to cook a cured ham, we need to figure out what kind you've brought home. It's easy to assume all hams are the same, but the variety you'll find in the meat aisle is surprising, and each one needs to be handled differently. Picking the wrong one can mean the difference between a juicy centerpiece and a dry, forgettable meal.
The ham most of us are familiar with is the city ham. These are wet-cured (brined) and almost always come fully cooked. Think of the classic pink, mild-flavored ham you see in the grocery store—that’s the one. Since it's already cooked, your only job is to warm it up without drying it out.
City Ham Versus Country Ham
Then you have country ham, which is a whole different ballgame. These are dry-cured in salt, often smoked, and aged for a long time, giving them a much saltier and more intensely porky flavor. Unlike a city ham, a country ham is usually sold raw and needs a good soak to mellow out the salt before you even think about cooking it low and slow.
For real traditional hams, like the famous Virginia-style, the curing process is an art form. They're often cured for one and a half days per pound. If you're curious about the old-school methods, the Virginia Cooperative Extension breaks down the traditional curing process in fascinating detail.
Pro Tip: If you only remember one thing, make it this: check the label. It will tell you if the ham is "fully cooked," "partially cooked," or "cook before eating." This is the most critical piece of info you'll find.
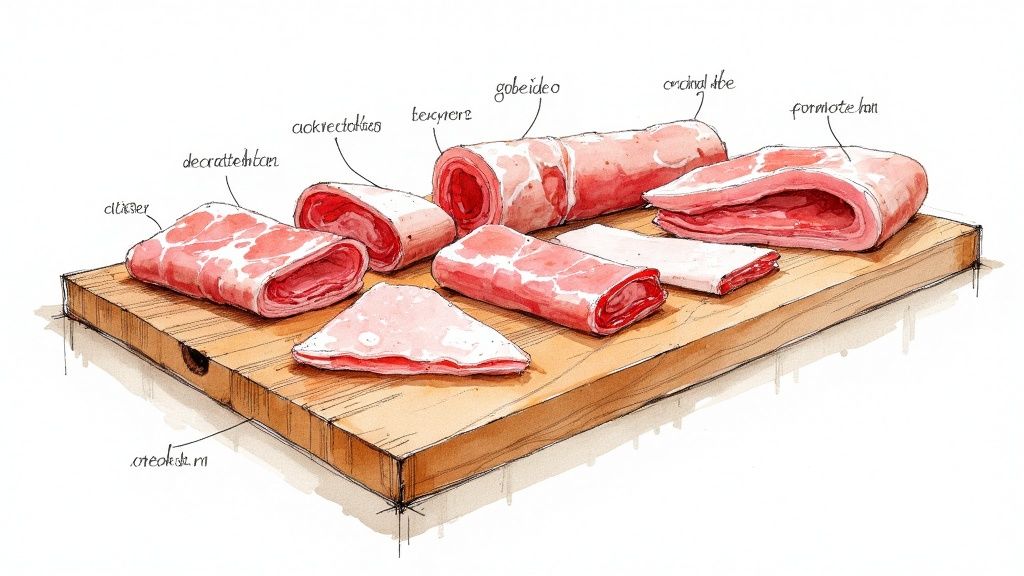
Understanding Different Cuts
The way the ham is cut matters, too. The whole bone-in versus boneless debate isn't just about making it easier to carve.
- Bone-In Ham: Ask any seasoned cook, and they'll probably tell you bone-in is best. The bone adds a ton of flavor and helps keep the meat incredibly moist by insulating it as it cooks.
- Boneless Ham: These are definitely convenient. They're pressed into a uniform shape that makes for perfect, even slices. The trade-off is that they can dry out more easily if you're not paying attention.
- Spiral-Cut Ham: The ultimate in convenience, this ham is pre-sliced right to the bone. It heats up fast, which is great, but it also makes it the most likely to dry out. You'll need to be extra careful with a spiral ham.
Once you know your ham’s backstory—how it was cured and cut—you're well on your way to cooking it perfectly.
Getting Your Ham Ready for the Oven
Before you even think about preheating the oven, a little bit of prep work will go a long way. These simple steps are my secret to making sure the ham comes out juicy and packed with flavor, not the dry, tough mess we all dread.
First things first, get that ham out of the fridge. I always let mine sit on the counter for about one hour before it goes into the oven. This little bit of patience helps the ham cook evenly all the way through, so you don't end up with an overcooked exterior and a cool center.
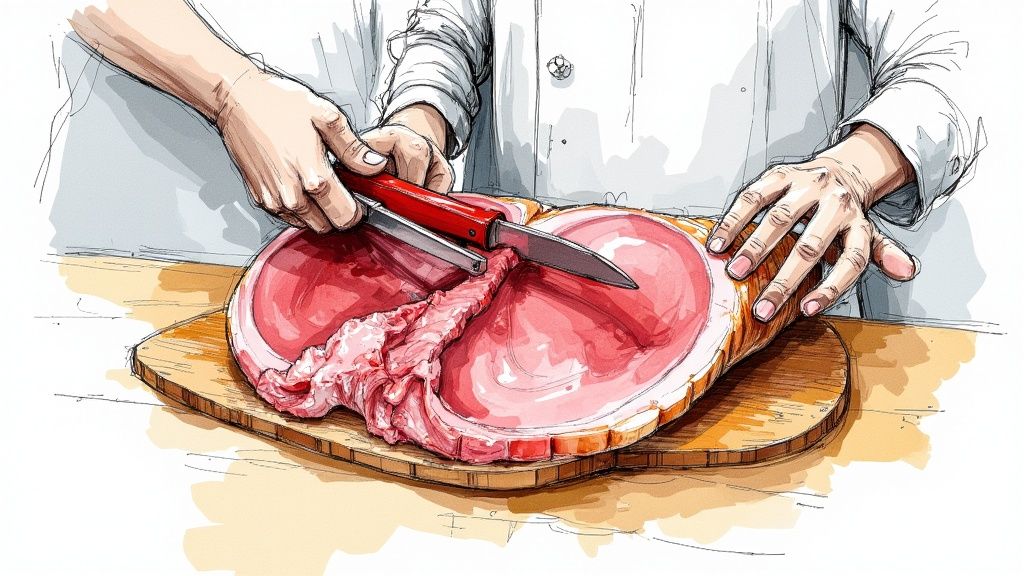
Score the Fat for Maximum Flavor
Now, let's talk about the fat cap. If your ham has a nice, thick layer of fat on top, you absolutely want to score it. Trust me, this is for more than just looks.
Grab a sharp knife and make shallow cuts across the fat, about an inch apart, to create that beautiful diamond pattern. As the ham cooks, this allows the fat to slowly melt and baste the meat, keeping it incredibly moist.
My Two Cents: Scoring is a game-changer. It not only helps the fat render beautifully but also creates the perfect little pockets for your glaze to sink into, flavoring the ham much more deeply.
Speaking of glazes, if you're making one with brown sugar or maple syrup, getting the measurements right is key. A good cups to grams converter is a lifesaver for getting the perfect, sticky consistency. Never underestimate these small prep steps—they truly lay the groundwork for a spectacular ham.
The Foolproof Ham Cooking Method
Once your ham is prepped and ready, it's time for the main event. Let me walk you through the cooking process. Forget complicated techniques; getting a perfectly juicy, tender ham is really about patience and trusting a simple, effective method. The secret is all in a low-and-slow approach that gently heats the ham all the way through without drying it out.
We're going to set the oven to a steady 325°F (163°C). I know it might seem low, but this moderate heat is perfect. It ensures the ham cooks evenly from the outside in, so the surface stays moist while the center slowly comes up to the right temperature. Cranking the heat higher is a shortcut to a tough, leathery ham—exactly what we want to avoid.
Setting Up for Success
First things first, get your ham into a roasting pan. The most important trick here is to place it fat-side up. As that beautiful fat cap warms up, it will slowly melt and baste the meat underneath, keeping everything succulent. It’s a small detail that makes a world of difference.
Next, pour about a cup of liquid into the bottom of the pan. Water is fine, but you can also use broth or even apple cider for a little extra flavor. This liquid isn't for basting—it’s there to create a steamy environment in the oven, which is another great trick for preventing a dry ham.
In all my years of cooking, the biggest mistake I see people make is relying only on a timer. Every ham is a little different, and every oven has its quirks. A good meat thermometer is the only tool that gives you certainty. It takes all the guesswork out of the equation.
The visual guide below breaks down the key steps of this method, from preheating the oven to getting that perfect temperature reading.
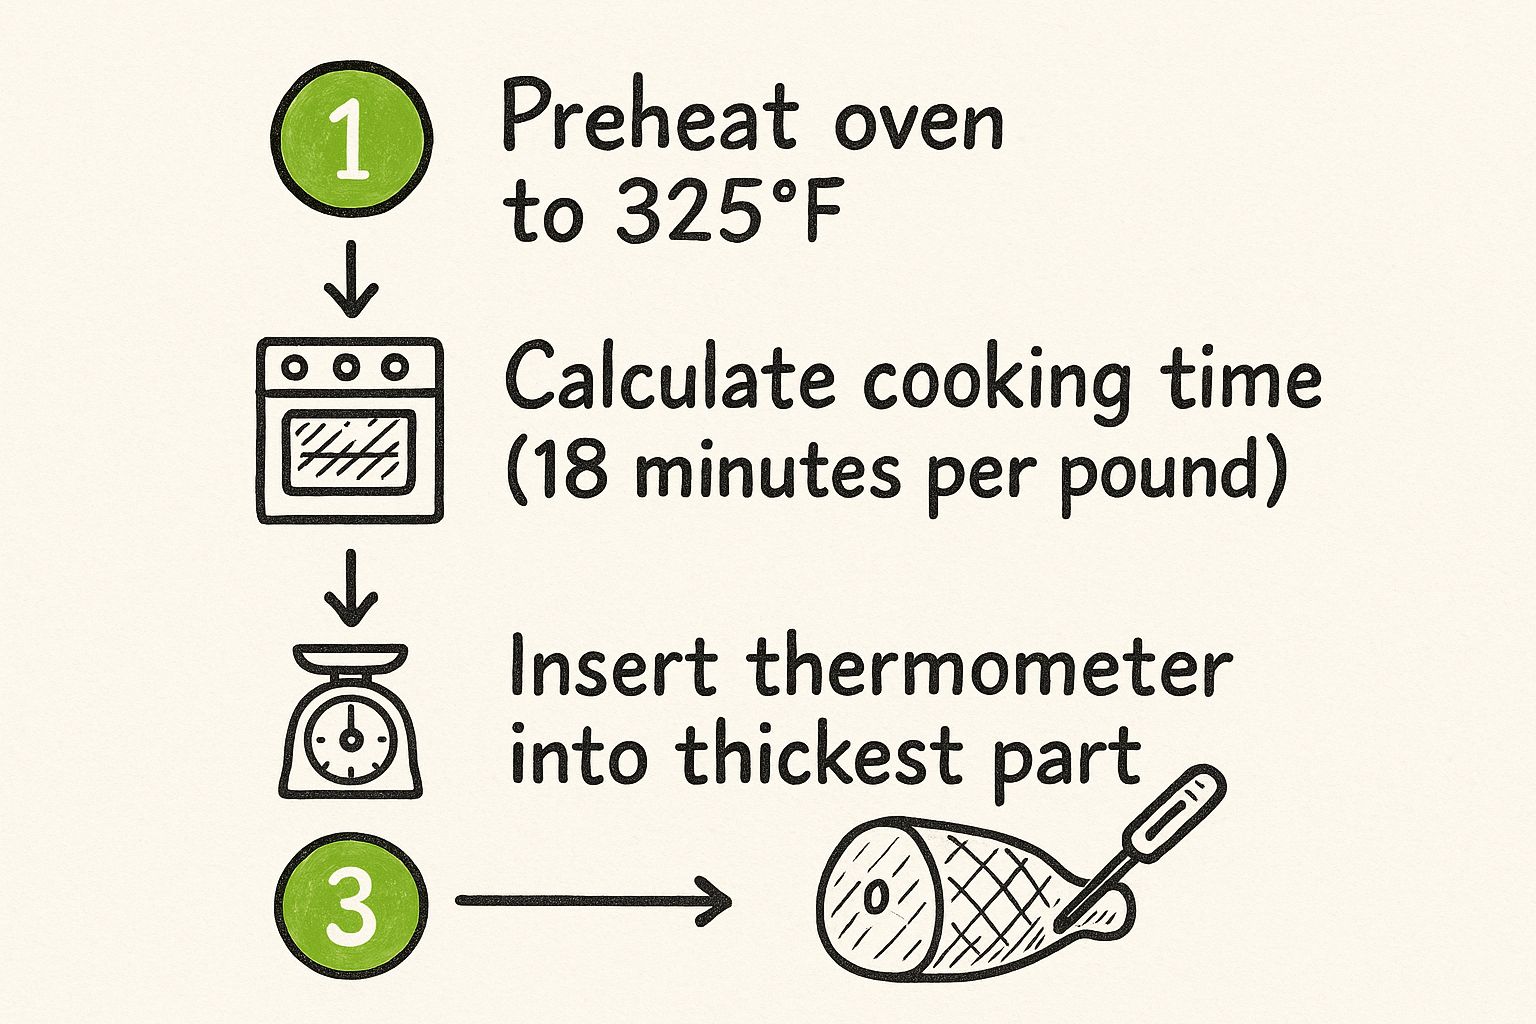
As you can see, it really boils down to two things: a consistent oven temperature and accurate monitoring. Get those right, and you're well on your way.
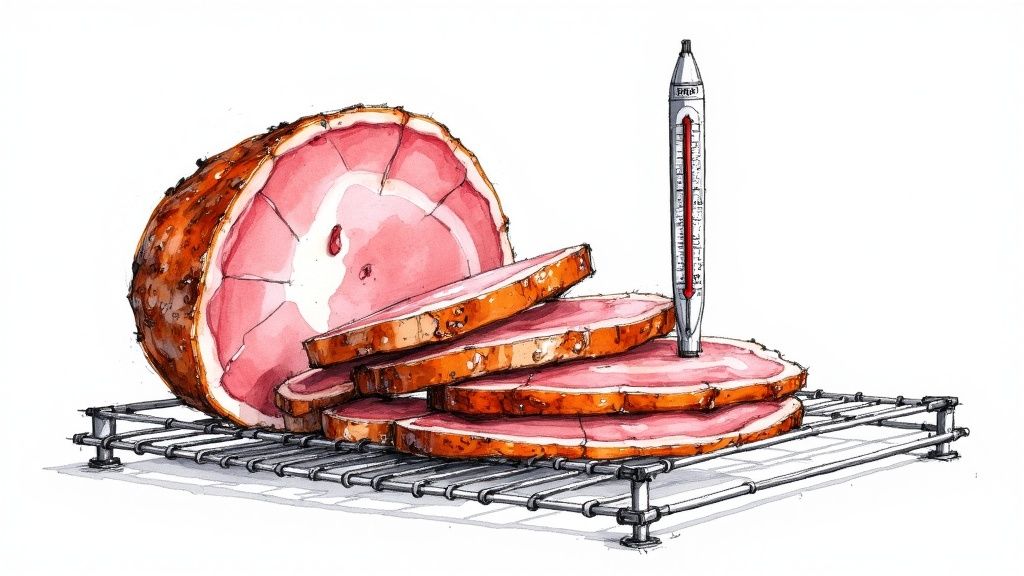
Why a Meat Thermometer is Your Best Friend
This brings us to the most critical part of the whole process. Go ahead and insert a meat thermometer into the thickest part of the ham, but be very careful that it doesn't touch the bone. The bone gets hotter than the meat around it and will give you a false reading.
Your target temperatures are simple but absolutely essential for both safety and taste.
- Reheating a fully cooked ham: You're just warming it through, so your goal is an internal temperature of 140°F (60°C).
- Cooking a "cook-before-eating" ham: This type needs to be fully cooked. The USDA recommends a minimum internal temperature of 145°F (63°C).
The second your thermometer hits that magic number, pull the ham from the oven. Don't wait! Letting it sit in there any longer will just overcook it. By cooking to a specific temperature instead of just watching the clock, you'll know exactly when your ham is perfectly done.
Why You Should Never Skip Resting Your Ham
You’ve done everything right. You’ve watched the temperature like a hawk and pulled that gorgeous ham out of the oven at the perfect moment. But what you do in the next 15 minutes might just be the most important step of all.
I've seen it happen countless times: someone gets impatient and slices into the ham right away. It's the quickest way to turn a masterpiece into a dry, disappointing meal. All that hard work, wasted in a moment.
How Resting Works Its Magic
So, what’s happening inside that ham as it sits on your counter? While it cooks, the muscle fibers clench up, forcing all the natural juices into the very center of the meat. If you carve it hot off the rack, those juices have nowhere to go but straight out onto your cutting board.
Letting it rest gives those fibers a chance to relax. As they do, they reabsorb all that flavor-packed moisture, distributing it evenly throughout the ham. It's a simple bit of food science that makes a world of difference.
This resting period also allows for something called carryover cooking. The ham's internal temperature will actually continue to climb another 5-10°F even after it's out of the oven. Factoring this in is how you nail that perfect final temperature without overcooking.
For most hams, a rest time of at least 15-20 minutes is what you're aiming for. If you want a quick guide, a good rule of thumb is about 10 minutes of rest for every 5 pounds of meat. And don't stress about it getting cold; it will stay plenty warm.
My Pro Tip: Tent the ham loosely with a piece of aluminum foil while it rests. This traps just enough heat to keep it warm without creating steam, which would turn that beautiful, crusty glaze you built into a soggy mess.
Patience here is your secret ingredient. A proper rest guarantees every single slice is succulent and flavorful. It's a small step that delivers a huge payoff on the plate.
Common Questions About Cooking Cured Ham
Even the most seasoned cooks have questions when a big holiday ham is on the line. Let's walk through some of the things people often ask so you can cook with total confidence.
Can I Cook a Ham Straight from the Freezer?
I get this question all the time, and the answer is a firm no. It’s a shortcut that just doesn't pay off.
Cooking a ham from frozen can increase your oven time by a staggering 50%. Worse, it almost guarantees uneven cooking. You’ll likely end up with a ham that’s tough and dry on the outside while still being cold and undercooked near the bone.
For the best texture and flavor, always thaw your ham completely in the refrigerator. This takes patience—a large ham can easily take 2-3 days to thaw safely, so be sure to plan ahead.
What If My Ham Starts to Look Dry?
Don't panic if you peek in the oven and the ham's surface looks a little parched. This is usually an easy fix.
First, check the roasting pan. If the liquid at the bottom has evaporated, pour in another cup of water or broth. This creates a steamy environment that keeps the ham moist.
You can also baste the ham with its own pan juices or your glaze every 30 minutes or so. If you notice the outside is browning too quickly before the inside is hot, just loosely tent the ham with a piece of aluminum foil.
Your meat thermometer is your best friend here. For a fully cooked ham you're just reheating, you're aiming for an internal temperature of 140°F (60°C). If you have a "cook-before-eating" ham, it needs to reach a food-safe 145°F (63°C), followed by a three-minute rest before slicing.
And when dinner is done, the last thing you want to worry about is a baked-on mess. For some great tips on getting your pan clean, check out our guide on how to clean your baking sheets—the tricks work just as well for roasting pans.
At Recipe One, we help you save and organize recipes from anywhere, turning chaotic inspiration into a clean, searchable library. Never lose a great recipe again. Try Recipe One for free

