Cooking perfect rice really boils down to four things: rinse the grains, nail the water ratio, simmer gently, and then—the secret step—let it rest. Get these four steps down, and you'll get fluffy, perfect grains every single time, whether you're using a pot on the stove or a fancy rice cooker.
Your Guide to Flawless, Fluffy Rice
Let's put an end to gummy, burnt, or crunchy rice for good. That perfect, restaurant-quality texture isn't about luck; it’s about technique. This guide will walk you through the essential steps that practically guarantee success, cutting through the myths to get straight to what works.
Think of cooking rice less as a strict recipe and more as a fundamental kitchen skill. Once you've got it down, a whole world of meals opens up. It all comes down to a few key variables.
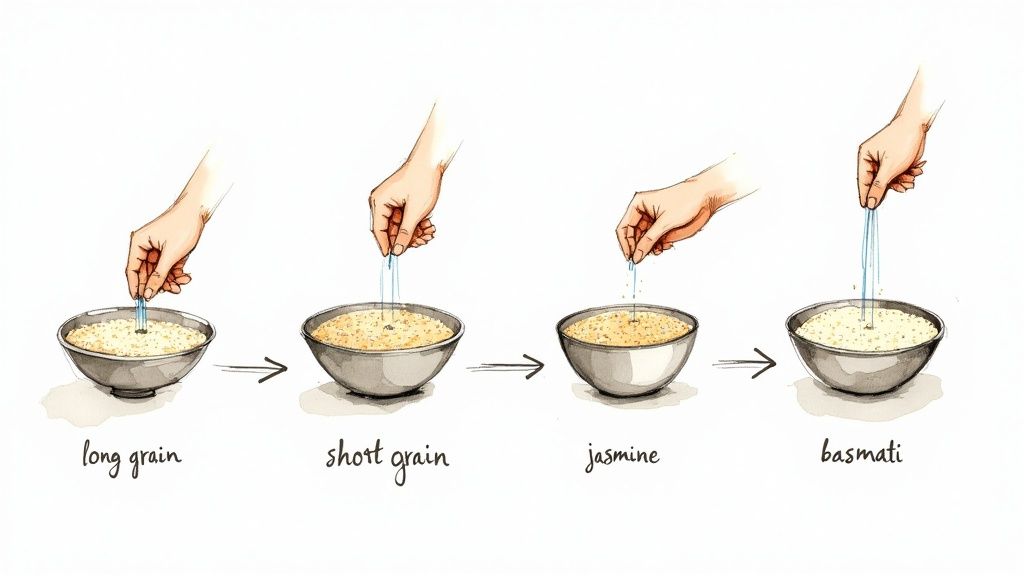
- Choosing Your Rice: Different grains behave differently. Long-grain varieties like basmati and jasmine cook up light and separate, which is great for pilafs or side dishes. Short-grain rice, like arborio or sushi rice, is naturally stickier because of its higher starch content.
- The Water Ratio: This is where most people go wrong. Too much water and you get mush. Too little, and the rice stays hard and undercooked.
- The All-Important Rest: Don't skip this! Letting the rice sit off the heat allows the steam to redistribute, finishing the cooking process and ensuring every grain is perfectly tender.
This chart is a fantastic visual reference for the most common types of rice.
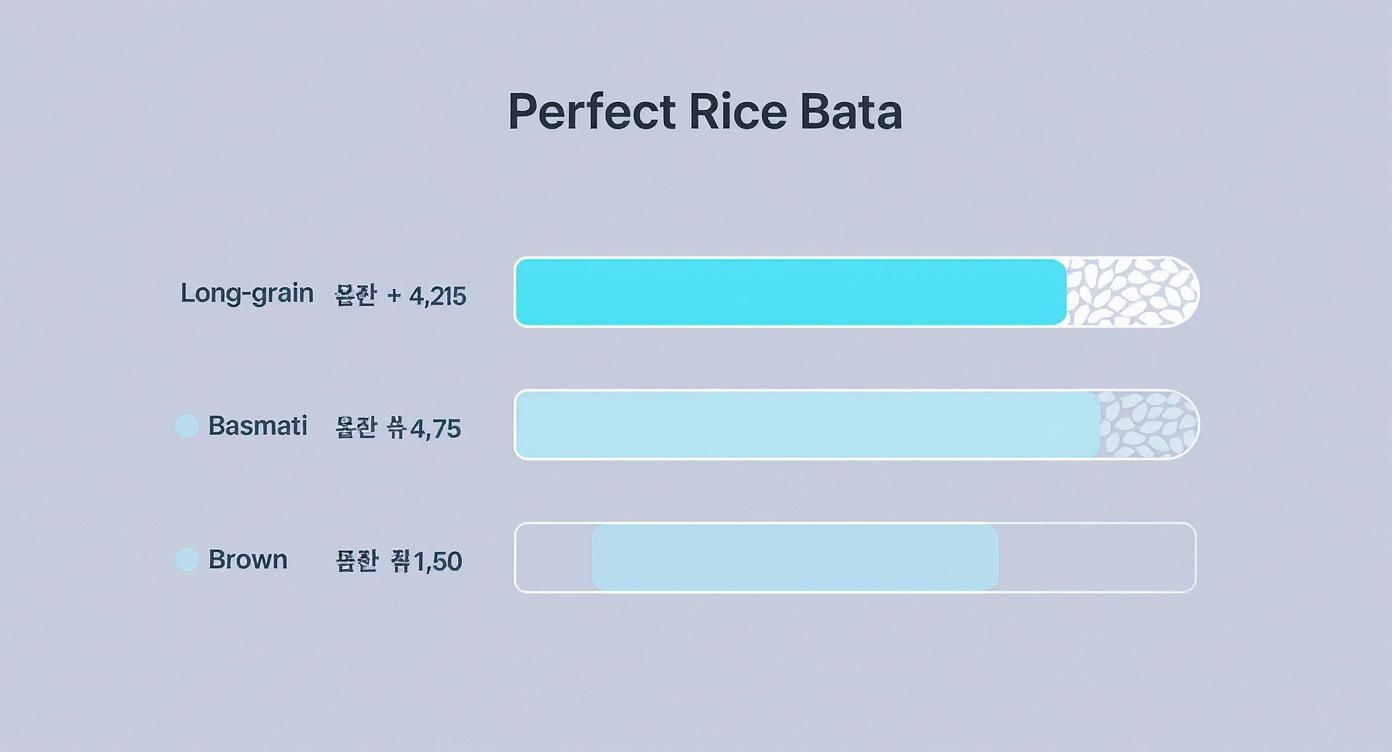
As you can see, each grain needs its own specific approach to shine.
For a quick reference you can save, here’s a handy table that breaks it all down.
Quick Guide to Perfect Rice Ratios and Times
Rice Type
Water-to-Rice Ratio
Stovetop Cook Time
Rest Time
White Long-Grain
1 ¾ cups water to 1 cup rice
15-18 minutes
10 minutes
Basmati
1 ½ cups water to 1 cup rice
15 minutes
10 minutes
Jasmine
1 ½ cups water to 1 cup rice
12-15 minutes
10 minutes
Brown Long-Grain
2 ¼ cups water to 1 cup rice
40-45 minutes
10 minutes
With these fundamentals, you’re all set to make a great batch of rice tonight. If you're wondering what to serve it with, you can always get some ideas and see what you can cook with ingredients you already have.
Start with the Right Rice and Prep
Great rice starts way before you even think about turning on the stove. It all comes down to picking the right grain for the dish you have in mind. Seriously, not all rice is the same, and your choice is the single biggest factor in the final texture.
Long-grain rice, like your basmati and jasmine, is naturally low in a sticky starch called amylopectin. That's why the grains stay separate and fluffy when cooked. On the other hand, short-grain rice—think Arborio for risotto or classic sushi rice—is packed with it. This gives you that creamy, sticky result you're looking for.
The All-Important Rinse
Once you have your rice, don't skip this next part. Rinsing is the secret weapon against clumpy, gummy rice. The whole point is to wash off all that extra starch powder clinging to the outside of the grains.
Just put your rice in a fine-mesh strainer and run cool water over it. I like to use my fingers to gently move the grains around. At first, the water will look milky and cloudy. Keep going until it runs almost clear. It only takes a minute or two, but trust me, it's a game-changer.
Rinsing rice isn't just a fussy chef's trick; it's a time-honored practice in kitchens all over the world. It’s backed by science, too. Studies show that washing rice 3 to 4 times can slash the surface starch by up to 40%. This simple step is key to getting that perfect texture.
To Soak or Not to Soak?
Soaking is an extra step, and honestly, you don't always need it. But for tougher grains like some aged basmati or most brown rice, it can really help. A quick 20-30 minute soak lets the grains hydrate evenly, which means a better cook and sometimes a shorter time on the stove.
For your standard, everyday long-grain white rice, a good rinse is plenty. Just remember to measure everything carefully. If you're ever working with a recipe that uses weights instead of cups, our handy guide for converting cups to grams is a real lifesaver.
Mastering the Perfect Water to Rice Ratio
If there's one secret to fluffy, perfect rice, it's getting the water-to-rice ratio right. I like to think of it less as a strict rule and more as a starting point. From there, you can fine-tune things based on the specific grain you're working with. A cup of hearty brown rice, for instance, is much thirstier and needs more cooking time than delicate basmati.
The whole idea is to give the rice just enough water to absorb completely and then let it steam itself to perfection. Too much water, and you get a soupy mess. Too little, and it's crunchy. This is where a good measuring cup is your best friend. While many packages suggest a 2:1 ratio, I've consistently found that using slightly less water often produces a much better texture.
Different Grains, Different Ratios
It’s a simple truth: not all rice is created equal. The amount of water you use directly impacts the final texture, so matching the ratio to the grain is the key to learning how to cook rice perfectly.
Here are the starting points I swear by:
- Long-Grain White Rice: A ratio of 1 ¾ cups of water to 1 cup of rice is a fantastic baseline.
- Basmati or Jasmine Rice: These fragrant grains are a bit more delicate and don't need as much water. I usually go with 1 ½ cups of water to 1 cup of rice.
- Brown Rice: Because of its tough outer bran layer, brown rice needs more liquid and more time. I aim for 2 ¼ cups of water to 1 cup of rice.
The standard process for long-grain white rice is a great example of how timing and ratios work together. After bringing the water to a boil, you'll simmer it for about 18 minutes, then let it rest off the heat for another 10 minutes. This final rest is crucial; it allows the steam to finish the job and redistribute moisture evenly.
An Old-School Trick: The Knuckle Method
Have you ever heard of the "knuckle method"? It's a classic technique passed down through generations. After adding your rinsed rice to the pot and leveling it out, you rest your index finger on top of the grain. Then, you add just enough water to reach your first knuckle.
It's a charming trick and can certainly work in a pinch. But I'll be honest—it's not the most consistent method. The size of your hand and the width of your pot can throw the measurement off. For foolproof results every time, I always recommend sticking with measuring cups.
For a deeper dive, we've put together a complete guide covering the ideal rice to water ratio for just about every grain you can think of. It’s a fantastic resource to bookmark for quick reference.
Choosing Your Cooking Method
Alright, your rice is rinsed and you've got the water ratio figured out. Now for the main event: how are you going to cook it? This really boils down to two classic contenders: the trusty stovetop pot or the modern rice cooker.
Honestly, there’s no right or wrong answer here. It’s all about what you have in your kitchen, how much time you’ve got, and frankly, how much attention you want to pay to a pot of rice. Both paths can lead you to perfectly fluffy grains.
The Stovetop Method vs. The Rice Cooker
A dedicated rice cooker is the very definition of convenience. For anyone who makes rice regularly, it’s a game-changer. You just dump in the rice and water, press a button, and walk away. It’s designed to be foolproof, automatically sensing when the rice is perfectly cooked and then switching to a "keep warm" mode.

Cooking rice on the stovetop, on the other hand, puts you in the driver's seat. You have total control over the heat, which is a big plus if you're experimenting with different types of rice or just making a small single serving. The best part? All you need is a decent pot with a lid that fits snugly.
To make the choice easier, let's put them head-to-head.
Stovetop vs Rice Cooker A Quick Comparison
| Feature | Stovetop Method | Rice Cooker Method |
|---|---|---|
| Control | High. You manually adjust the heat from boil to simmer. | Low. The machine automates the entire process. |
| Convenience | Requires active monitoring to prevent scorching or boiling over. | Set it and forget it. Just add rice and water, then press start. |
| Consistency | Can be tricky at first; results depend on your heat management. | Incredibly consistent. You get the same great results every time. |
| Best For | Hands-on cooks, small batches, or those without a rice cooker. | Busy people, big families, and anyone who values guaranteed results. |
This little comparison should give you a good idea of which method fits your style.
If you go with the stovetop, here’s my single most important piece of advice: don't peek! Lifting the lid lets out all the steam needed to cook the grains through. Keep it covered, trust the process, and you’ll be rewarded with fluffy, perfectly cooked rice.
At the end of the day, the best method is the one you’re comfortable with. Whether you're mastering the art of the simmer on the stove or enjoying the simple reliability of a rice cooker, you're on the right track.
And since we're talking about managing heat, our handy oven temperature conversion table might be useful for your other kitchen projects, too.
Why You Can't Skip Resting and Fluffing
You've done everything right so far, but the final ten minutes after you turn off the heat are what separate decent rice from perfect rice. Seriously. This resting period is non-negotiable, and it’s probably the most common step people skip.
Once the pot is off the burner, the work isn't over. The trapped steam inside keeps cooking the grains, but gently. Even more importantly, this time allows all the moisture at the bottom of the pan to travel upwards and redistribute evenly, so you don't get a sticky, gummy layer at the bottom and dry grains at the top.
Whatever you do, keep that lid on tight. Let the rice sit, covered and completely undisturbed, for at least 10 minutes. Every time you lift the lid to peek, you're letting out the precious steam that's doing all the hard work.
The Gentle Art of Fluffing
After the rest, it's time to fluff. This is the finishing touch that gives rice that light, airy, and distinct-grained texture everyone loves. The trick is to be gentle; you're not mixing a cake batter.
Grab a fork, a rice paddle, or even a thin spatula to get the job done right.
- Go in from the side: Slide your utensil down the edge of the pot.
- Lift from the bottom: Gently scoop the rice from the bottom and fold it over toward the middle.
- Work your way around: Just repeat that gentle lifting and folding motion around the entire pot until the grains look separated and fluffy.
This simple move releases any lingering pockets of steam and makes sure every single grain is perfectly tender. Resist the urge to stir it like crazy—think of it more like folding. With that, you’ve just nailed it.
Answering Your Top Rice Cooking Questions
Even once you get the hang of it, rice can sometimes be a little temperamental. Don't worry, a few common problems trip up even experienced cooks. Let's walk through some of the most frequent questions I get and how to handle them.
By far, the biggest complaint is sticky or mushy rice. This almost always comes down to two culprits: too much water or forgetting to rinse the grains. Too much water simply turns the rice to mush, while that fine, powdery starch on unrinsed rice creates a gummy paste as it cooks.
The Fix: Be precise with your water ratio for the specific type of rice you're using. And I can't stress this enough—always rinse your rice! Getting that water to run clear is your ticket to light, fluffy grains every single time.
What Do I Do With Undercooked Rice?
So you took a bite and got that dreaded crunch in the middle. Don't throw it out! As long as the pot isn't completely dry, this is an easy save.
All you need is a little more steam. Just add a few tablespoons of water back into the pot, pop the lid on tight, and put it back on the stove over the lowest heat you can manage for another 5 to 10 minutes. This little steam bath will finish the job.
Can Burnt Rice Be Saved?
Unfortunately, burnt rice is a tougher problem. While you can carefully scoop out the un-scorched rice from the top, that burnt flavor has a sneaky way of tainting the entire batch.
The best solution here is prevention. A heavy-bottomed pot that distributes heat evenly is your best friend. Also, make sure you keep the heat at a gentle simmer, not a rolling boil. Knowing your stovetop and how to control heat is just as important as knowing your ingredients. It's a bit like understanding how different cooking oils react to temperature. If you're curious about that, this cooking oil smoke point chart is a great resource.
Rice is a wonderfully versatile grain that fits into so many different eating styles. For those who need it, it's a fantastic staple in many gluten-free meal plans, proving just how essential it can be in a well-rounded diet.

